Select Add New Rights Holder from the top right of the screen.

The following screen displays, with 3 tabs across the top of the screen: Rights of Interment, Details and Documents.
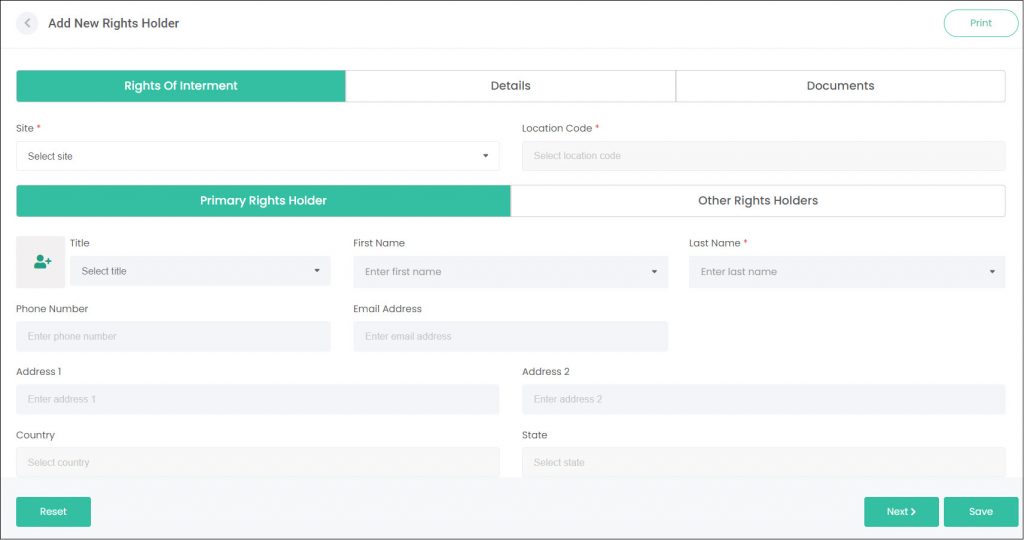
You can click on each tab header to move through each section or click Next at the bottom of the screen to move to the next section.
Notice that the Rights of Interment tab above is green? This highlights the current tab we are working in. Once completed, this tab will turn grey. A white tab indicates that it is yet to be completed.
You can also print the page for your records by clicking the Print button on the top right of the page.
Rights of Interment Tab

The Rights of Interment tab is where the rights holders personal information is entered.
First, you must select a Site and Location Code from the drop-down fields at the top of the screen. This will link this rights holder record with the location code.

Below these fields, there are two tabs to complete: the Primary Rights Holder and the Other Rights Holder tabs.
Primary Rights Holder tab
The Primary Rights Holder tab is where the details for your next of kin are entered.
There are two ways to enter your Primary Rights Holder’s details on this page.
If the rights holder has already been created as a person record in the Persons module, then you can use the First/Last Name fields to search for that record. Simply type their name, and any person records with matching names will be listed. Select your desired record.

All the contact and address details from the person record will populate the fields on this screen.

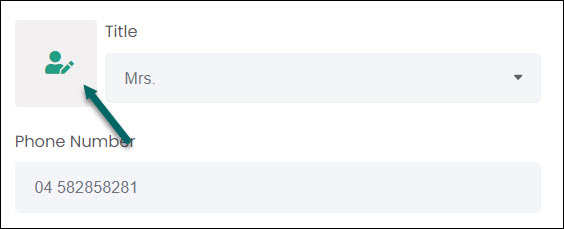
If any of these details are incorrect or have changed since the Person record was creating, you can edit the person record by clicking the button to the left of the Title field. This opens the Edit Person pop-up window.
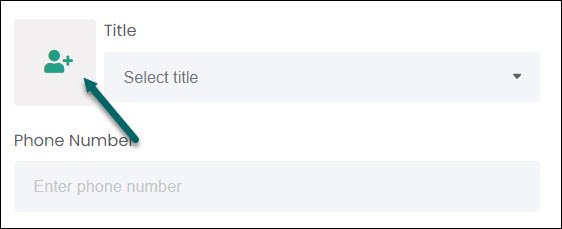
If the rights holder hasn’t been created as a Person record, you will need to do that now. With no person selected, the button to the left of the Title field is an add button. Click this.
This opens the Add New Person pop-up window. For help completing this process, refer to the Add New Person article.
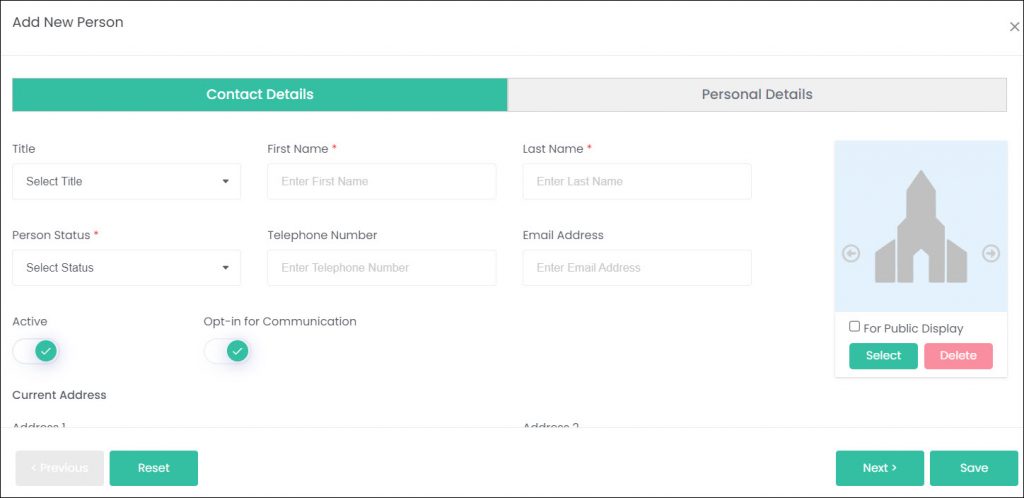
Once you’ve entered all your new person’s details, click Save. This will populate the Primary Rights Holder tab with their new information.
At the bottom of the Primary Rights Holder tab, there is a General Information field where you can add any notes about the record that you wish.
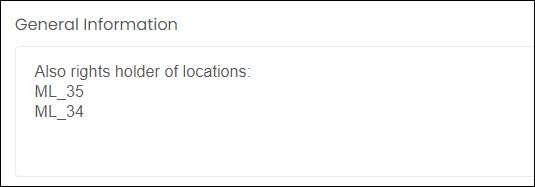
Below this field, there is the Deceased Details section. Any deceased records linked to the chosen Location Code will be listed here. If any of these records are related to the rights holder you’re creating, you can designate that relationship here.

For example, let’s say our rights holder is the brother of Robert White. We can select Sister in the Relationship to deceased drop-down, and Brother in the Relationship to person drop-down.
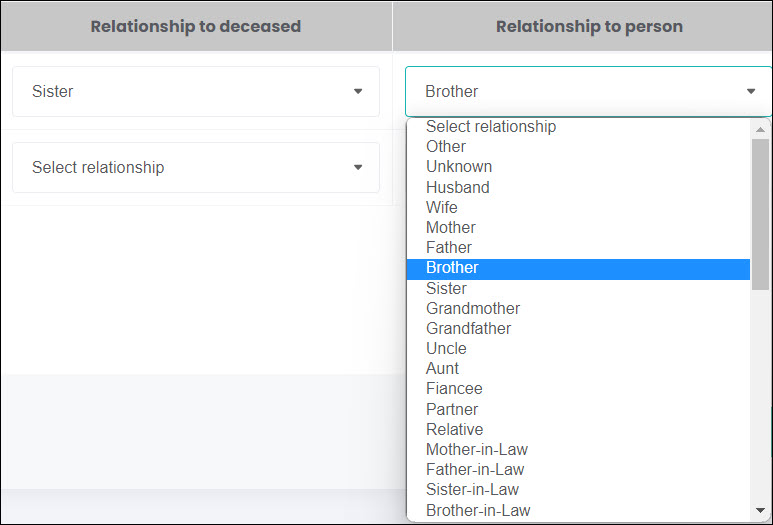
Once the rights holder record has been saved, if we open it in View mode, we can see that Robert White is listed under the Deceased Details section, but the other deceased record attached to the location code isn’t pulling through. We didn’t add a relationship to that other deceased, so they don’t show.

Other Rights Holder tab
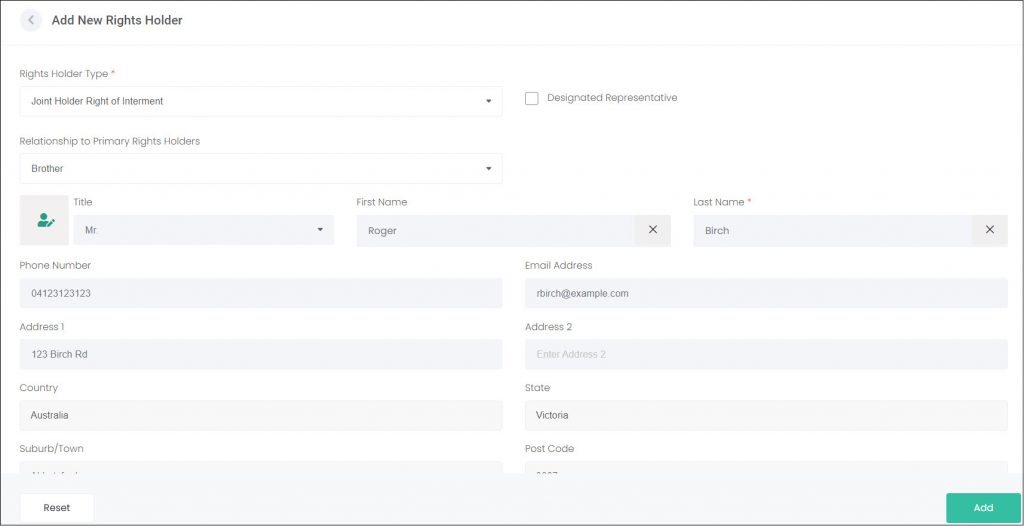
This tab allows for joint or secondary rights holders to be captured. We can add multiple records here, and each will be listed below with buttons available to View, Edit, or Delete them.

To add another record here, click the Add New Rights Holder button. Select whether the rights holder is a Joint or Second Holder of Right of Interment, select their Relationship to Primary Rights Holder, and then search or add a person record.
Once those details have been completed, click Add.
Details Tab
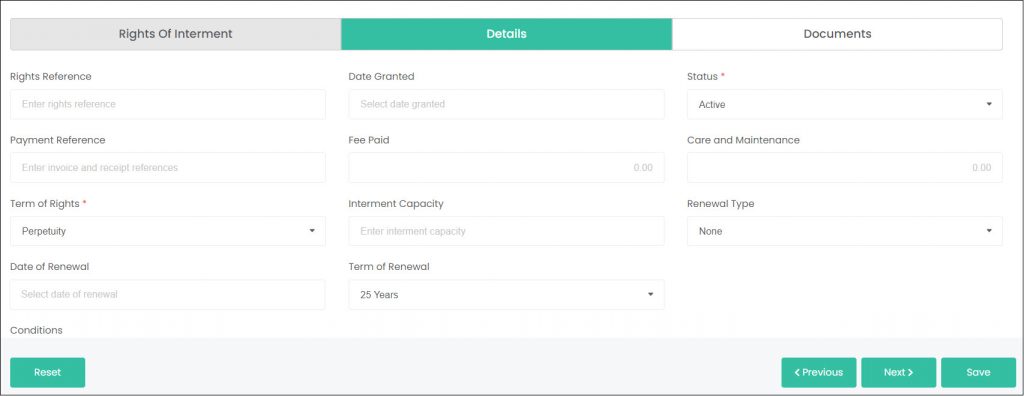
The Details tab allows for more information specific to the rights themselves to be entered. For example, we can enter a Rights Reference number, capture the Date Granted and whether they are still Active.
We can also capture the Term of Rights, where we can see whether they were sold in perpetuity or with tenure.
Similarly, if the rights are renewed by the rights holder, those details can be captured here as well, such as when they were renewed and what the terms of the renewal are.
Note: any field marked with an asterisk must be completed.
Documents Tab
In this section, you can attach any relevant documentation relating to the rights holder, such as a Certificate of Entitlement or Tax Invoice.
To add a document, click on Add New.
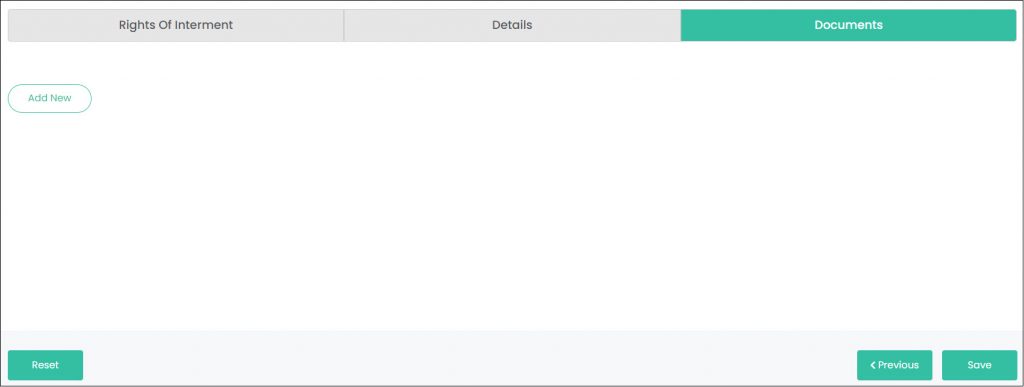
The following screen displays, prompting you to upload any documents:
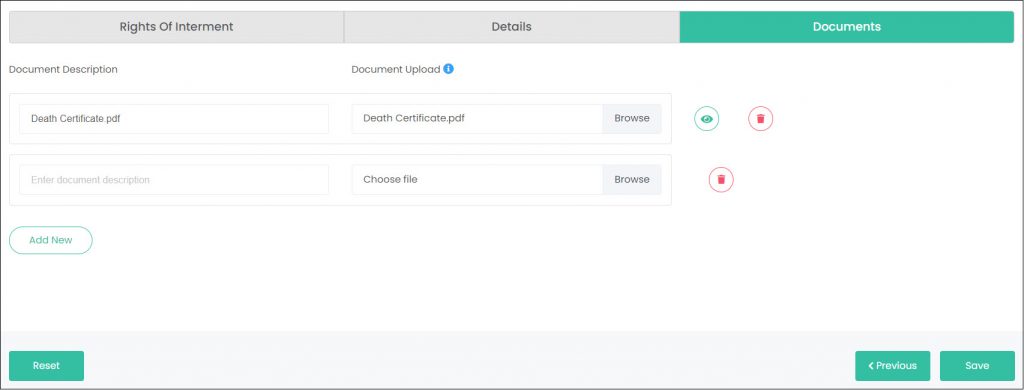
Click on Browse in the Document Upload field to select a file from your computer. Note: The maximum upload is 5MB.
The name of the saved document will display in the Document Description field; however, you can override this by typing in your own description.
To add additional documents, click Add New and repeat the steps above.
Documents can then be viewed or deleted using the buttons in line with the document on the right.

Click Save to complete.
Note: If there is an error on one of the tabs (e.g., any missing information), this will be highlighted in red, prompting you to edit and re-save.
