To create a new quote, click Add New Quote on the Manage Quotes/Invoices screen.

This opens the Add New Quote screen.
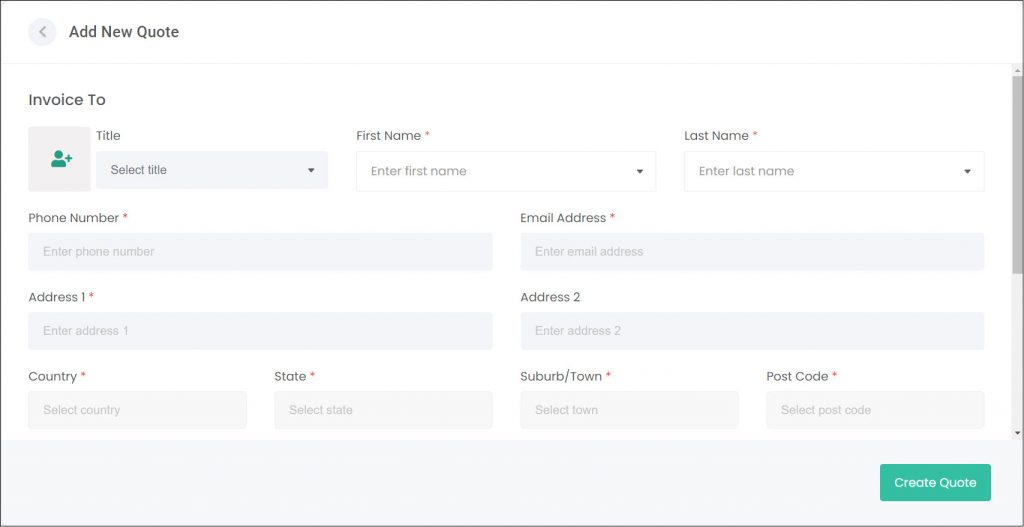
Invoice To
The first thing you need to do is attach a Person record to the quote in the Invoice to section. There are two ways to do this. First, by searching for an existing Person record.
To do this, use the First Name or Last Name fields to search byondcloud’s Person module.

Once the person is selected, their contact and address details auto-populate from their Person record.

If the person being billed is not already set up in byondcloud, then a new Person record will need to be created now. Click the button to the left of the Title field.

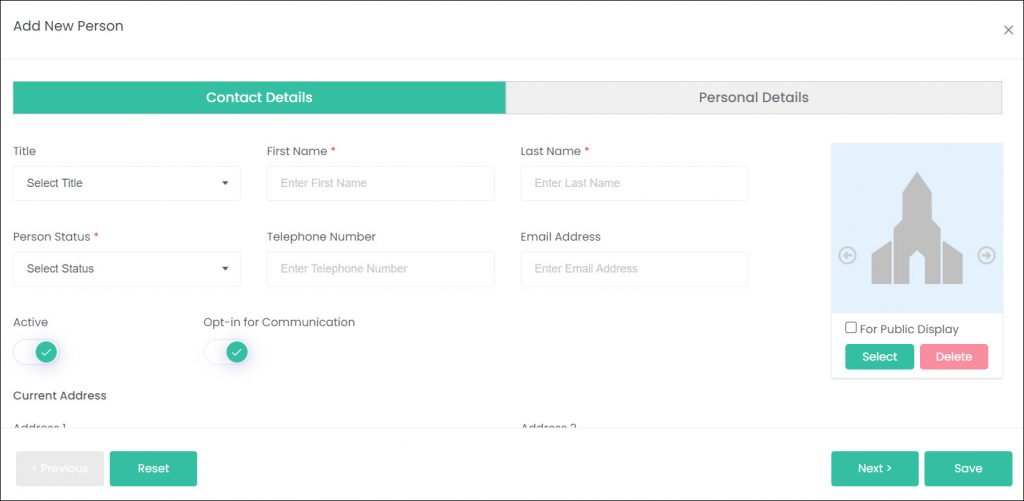
This opens the Add New Person pop-up. We will explore how to complete this page in the Add New Person article.
Using the Site drop-down, select which site/branch of your organisation is processing the transaction.

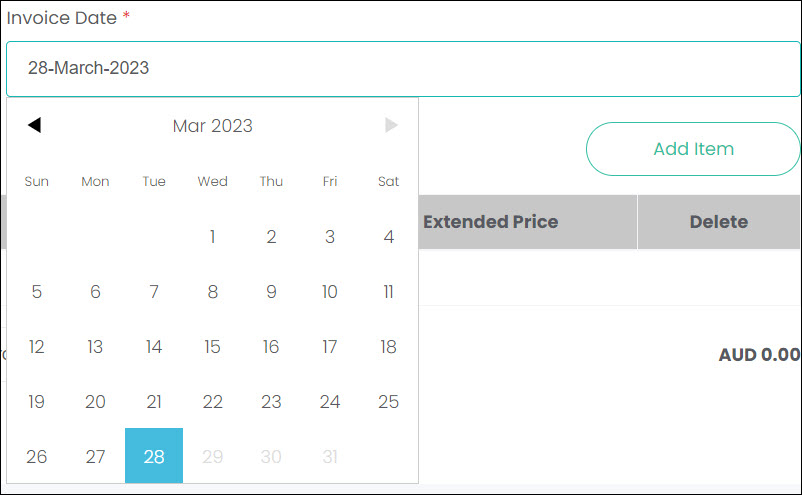
The Invoice Date field will auto-populate with today’s date. If the date needs to be changed, click on the field to open the date search function.
Invoice Items
The Invoice Items section is where items can be added and priced for the quote. These Items are configured in the Items module, and will be explained further in future articles (Coming soon!).
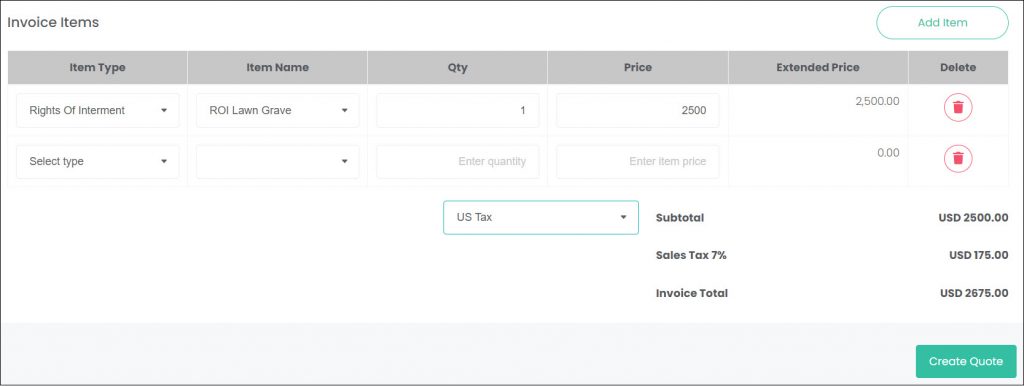
Click Add Item to generate a new item row.

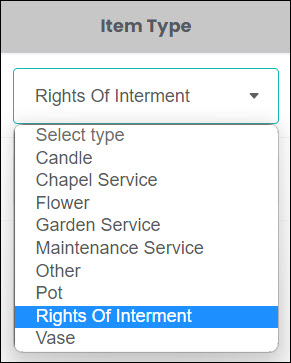
The Item Type field dictates which items you can select from in the next field. The item types should tell you the general category of the item you’re planning to add.
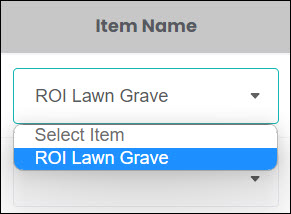
The Item Name is a list of all your items that fall within the Item Type entered above. This Item Name will have a certain price attached to it, which you’ll see automatically populate in the next fields.
The Qty field allows us to change the quantity of the item being sold.
The Price field is the price per item. This price is configured in the item’s entry in the Items module, but you are free to change the price for this quote here if desired.
The price field is multiplied by the quantity field when calculating the Extended Price.

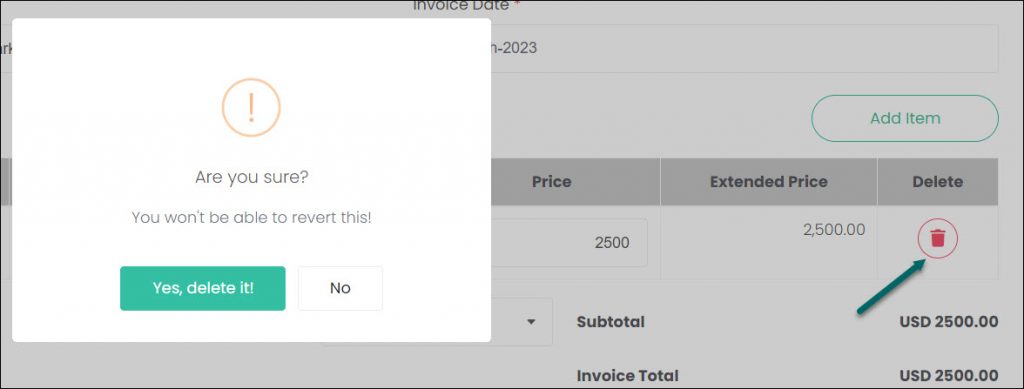
Items can be deleted by clicking the Delete button on the right-hand side of the item row. A pop-up window will appear, confirming that you want to delete the item.
Select Tax Group adds your tax percentages to the quote. The tax group settings can be configured company-wide under Account Configuration or individually for each site under Site Structure.
Tax is calculated as tax-exclusive, so the tax percentage will be added to the existing subtotal. If your pricing outside of RecordKeepr is tax-inclusive, then take care to calculate your item pricing accordingly.

Once all fields are completed and the items have been added, click Create Quote to save the changes.

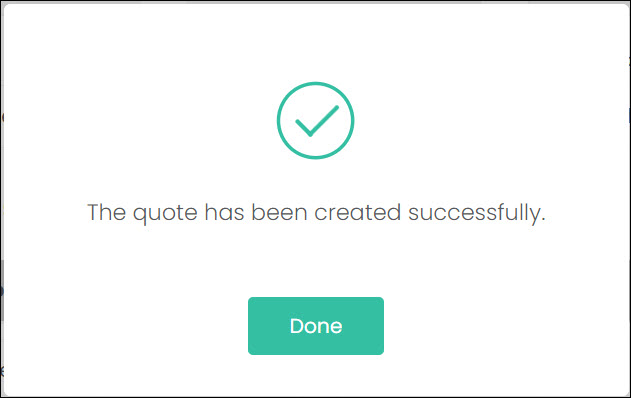
A pop-up will display, confirming that the quote was successfully created. Click Done to close this.
Templates
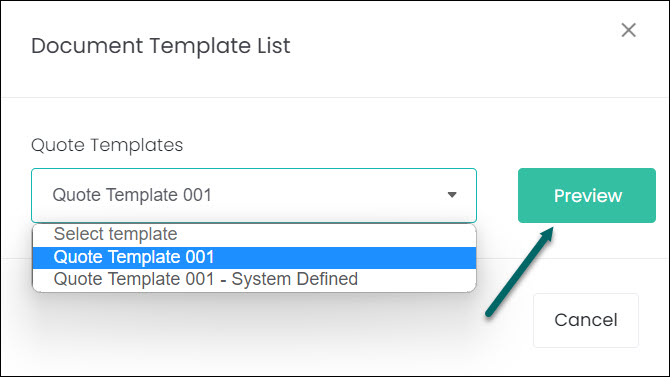
The Document Template List pop-up appears, allowing you to select from a list of Quote Templates. These documents are generated from templates set-up in the Document Templates section of byondcloud (Article coming soon!).
Once you’ve selected the template you need, click Preview.
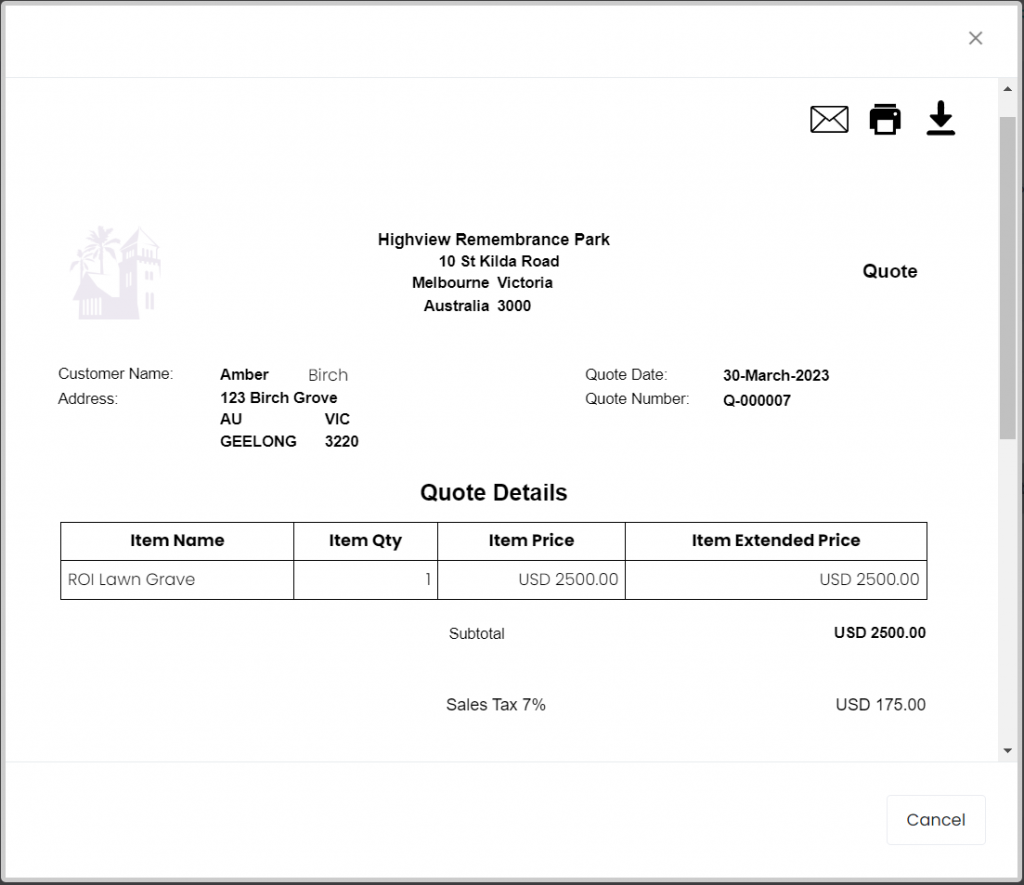
From here, use the three buttons on the top right-hand side to Email, Print or Download the document.
Closing the documents window takes the user back to the Manage Quotes/Invoices screen, where they can see their new quote listed.

