To add a new deceased record, select Add New Deceased Record from the top right of the screen.

The following screen displays, with 6 tabs across the top of the screen:
- Deceased Record
- Personal Details
- Relationships
- Interment Details
- Exhumation Details
- Documents
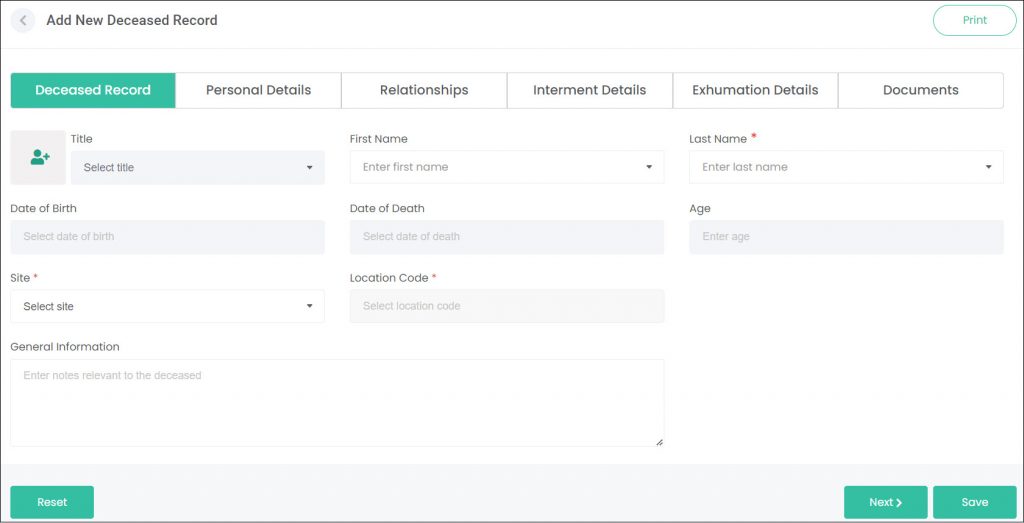
Let’s look at each of the individual tabs you’ll need to complete for the Deceased Record.
Deceased Record Tab
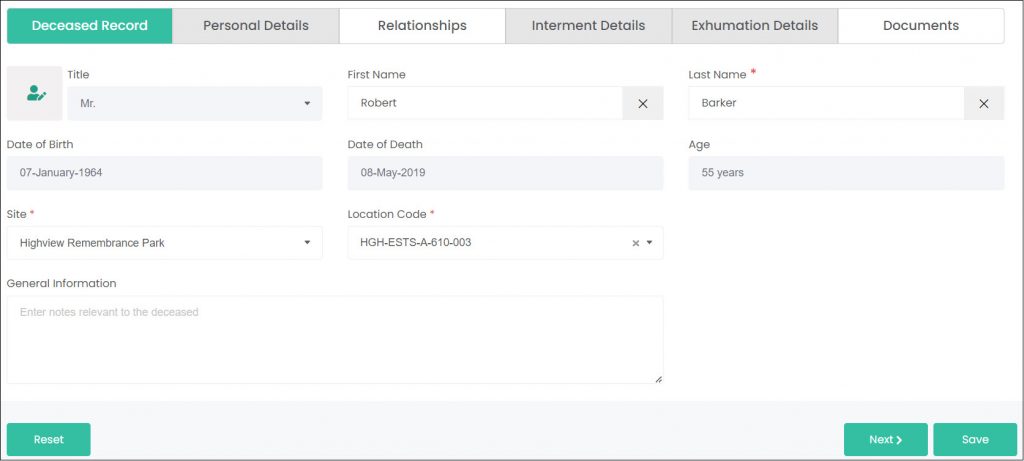
The Deceased Record tab captures general details of the deceased.
Any information found on this tab is available for the public to view and print by the general public using our deceased search plug-in for your website (you can access this link from the Manage Accounts / Site Structure page).
The public will NOT be able to see information on any of the remaining tabs.
Adding a Person record is the first step on this tab. Do this in two ways:
Search for an existing Person record using the First/Last Name fields. Type a name and click on your desired record from the list.

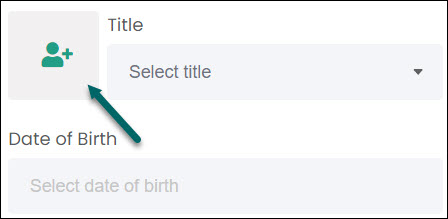
Or, create a new Person record from scratch by clicking the button to the left of the Title field.
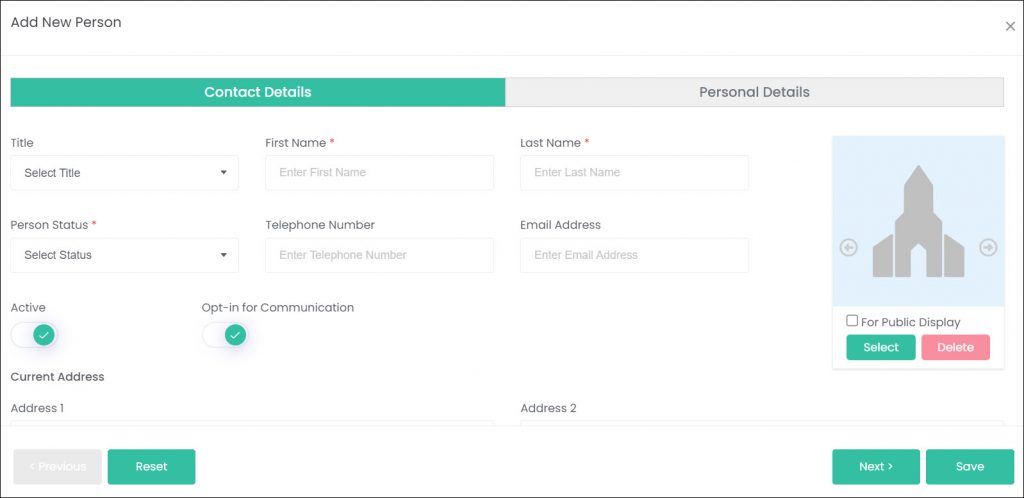
This opens the Add New Person pop-up window. Refer to the Add New Person article for instructions on completing this page.
Once a Person record is selected, their Date of Birth/Death and Age are filled in from that Person record.
Next, select a Site and Location Code. The location code is where this deceased record is interred. Saving this new deceased record will update the status of that location to Interment, and will add another interment to it’s Interments Used field.

You can enter some free-text information in the General Information field. Remember, this tab can be viewed by the public through your Deceased Search function, so use this field to capture anything interesting or noteworthy you’d want the public to know about this person.

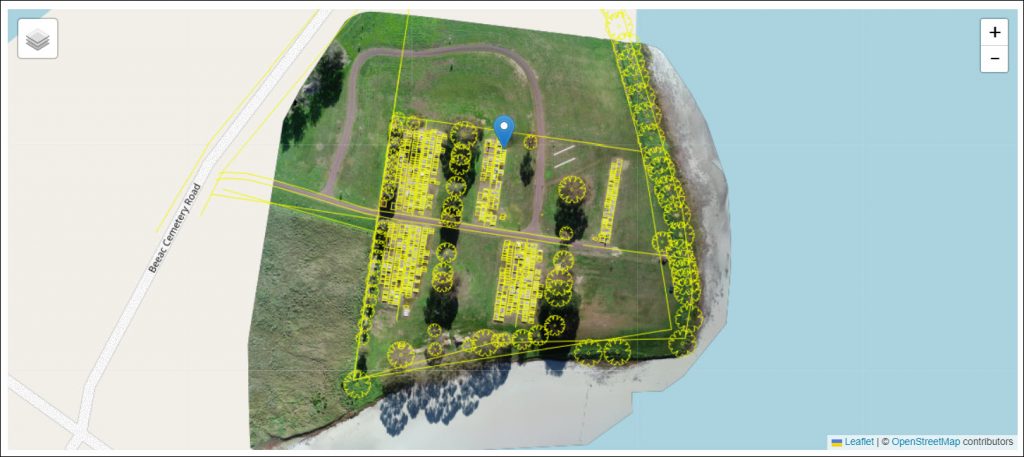
At the bottom of this tab, any mapping that is attached to the linked Location Code will appear. Again, the public can see this through a Deceased Search.
Personal Details Tab
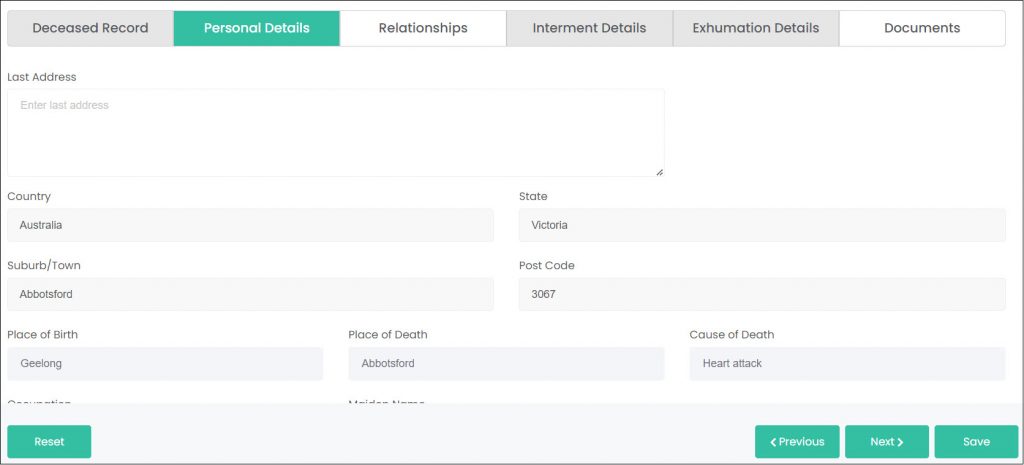
The Personal Details tab displays additional personal details of the deceased such as their occupation, cause of death, and last address.
The Personal Details tab is suppressed from public searches and is for internal use only.
Be mindful when printing information from this screen, as all personal information will be printed.
Besides the Last Address and Private Information fields, the rest of the information on this screen is pulled from the Person record, and can’t be changed on this page.
Relationships Tab
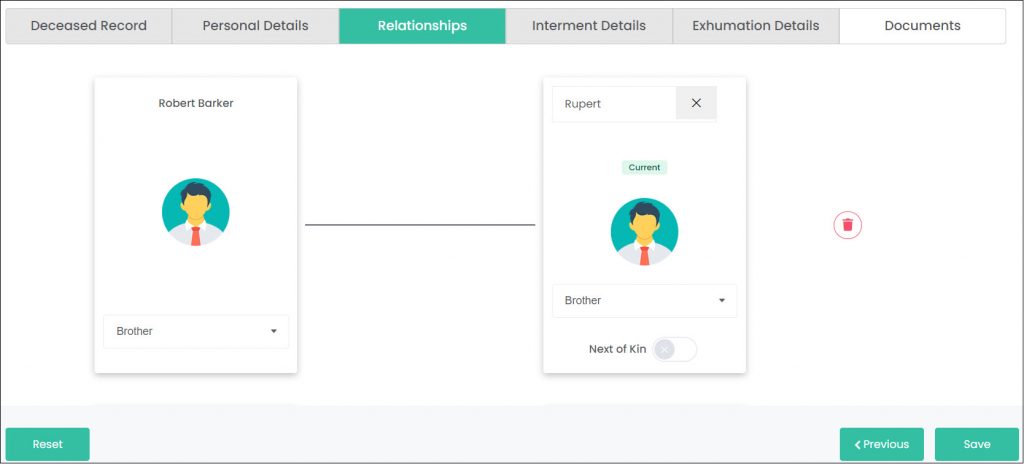
The Relationships tab lets you set up relationships between this deceased record and other Person records. Once a relationship is created, you will be able to see the related person link on both peoples Person records.
To create a relationship, use the search bar on the right-hand square to find an existing Person record, or click the add new button to create a Person record.
Once a Person record has been selected, use the Relationship to drop-down fields to choose how these people are related, i.e., brother-sister, husband-wife.
Below is an example of how this tab looks in View mode, once a few relationships have been created.
Interment Details Tab
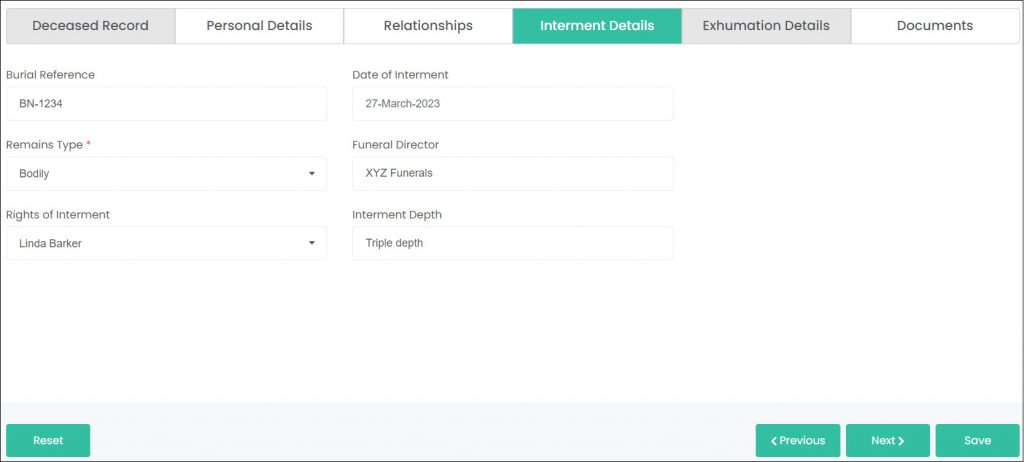
The Interment Details tab displays information regarding the interment of the deceased. Capture the Burial Reference number/code, Date of Interment, Remains Type, Funeral Director name or company, and Interment Depth.
You can also add a Rights of Interment person here, using the drop-down. This drop-down will display all rights holders linked to the Location Code used back on the Deceased Record tab.
The Remains Type field is the only mandatory field on this page. The rest of the information is optional and can be entered as desired.
Exhumation Details Tab
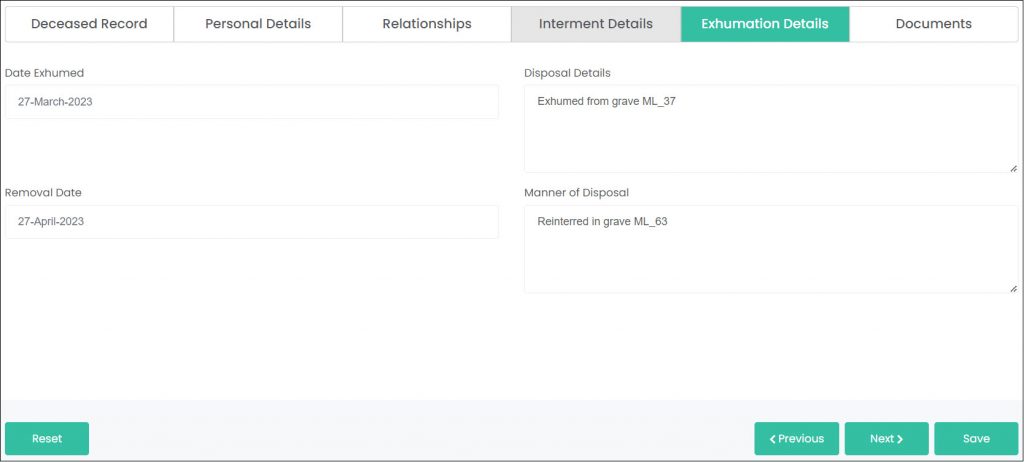
The Exhumation Details tab can be used to capture information regarding an exhumation, including date of exhumation and disposal details.
Enter the Date Exhumed and Removal Date, then supply the necessary information in the Disposal Details and Manner of Disposal fields. These fields are free text, so you can enter whatever information you need here. In our example above, we’re included the original grave the person was exhumed from, and the resulting grave they were reinterred in.
Note: You may need to update the location, rights holder or deceased interment details as required to adjust the interments used on the location record, to remove the rights holder details, and to update the deceased interment details.
Documents Tab
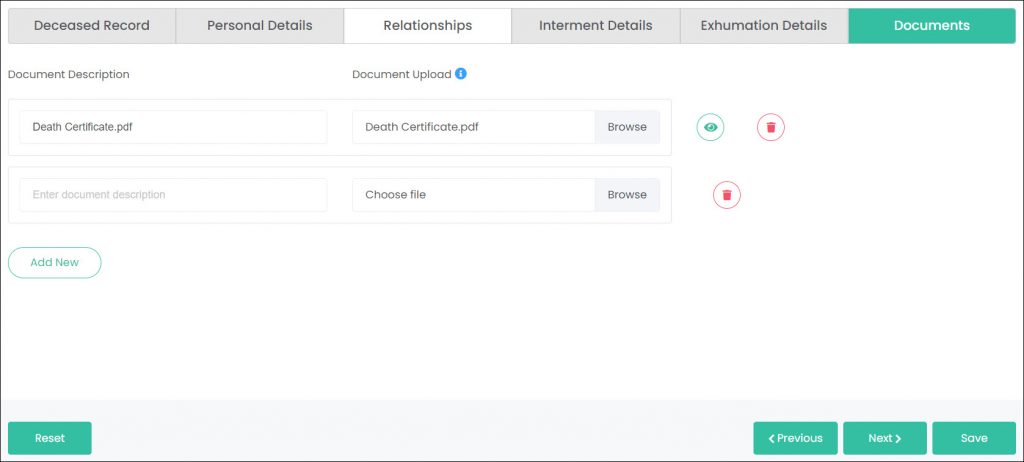
In this section, you can attach any relevant documentation relating to the deceased record, such as a burial permit, death certificate, or interment rights certificate.
To add a document, click on Add New. A new row will appear, where you can enter the document information.

Click on Browse in the Document Upload column to select a file from your computer. Note: The maximum upload is 5MB.

You can enter a new description in the Document Description field if required or leave as is.

Once all your deceased record tab have been completed, click Save.

You have now created a new deceased record.
