From the Manage Persons screen, click Add New Person.

The Add New Person screen has three tabs to complete: Contact Details, Personal Details, and Relationships. Fill out all the required information on each tab, clicking Next to go to the next tab, and Save to finish adding the new person.

All fields with a red asterisk are mandatory. You won’t be able to save the person without completing these fields. An attempt to do so will cause any tabs with missing information to be marked as red, as shown below:

Contact Details Tab
The Contact Details tab is where the most important information about the person is captured. Name, Address, and Contact details can be added here, as well as a few other unique fields.
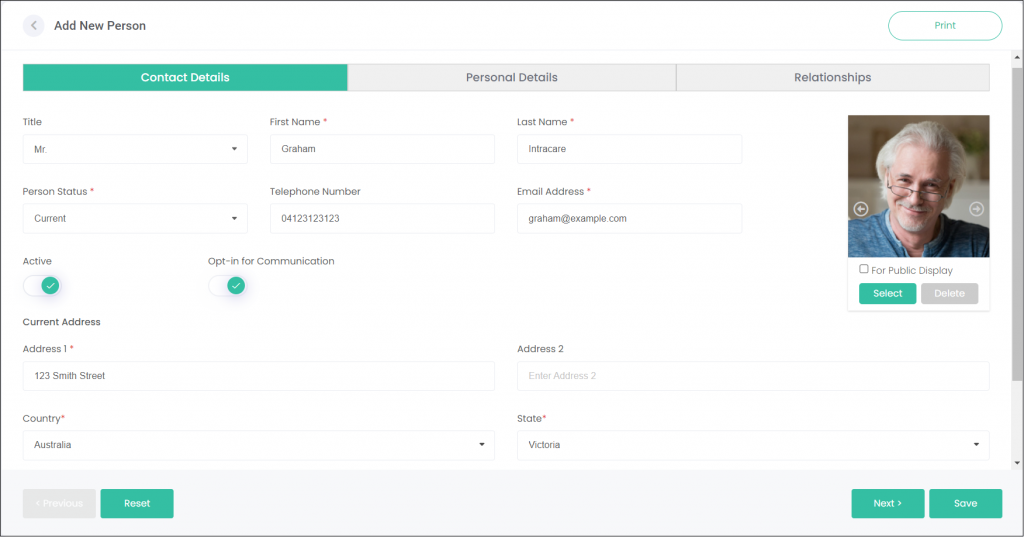
The Person Status field tells us if the person is Deceased or Current. The person’s status will dictate some of the fields that can be completed on this tab and the Personal Details tab.
Ticking Opt-in for Communication means this person can be added to Contact Lists and can be sent emails and other marketing materials. If the person is deceased, this field will be locked as off.

Images or videos of the person can be added on this screen too.
Click Select under the image on the right-side of the screen to upload an image or video.

Some instructions will pop-up on the type of images and videos that can be uploaded. Click Select on this pop-up to browse your device for an image or video.

Personal Details Tab
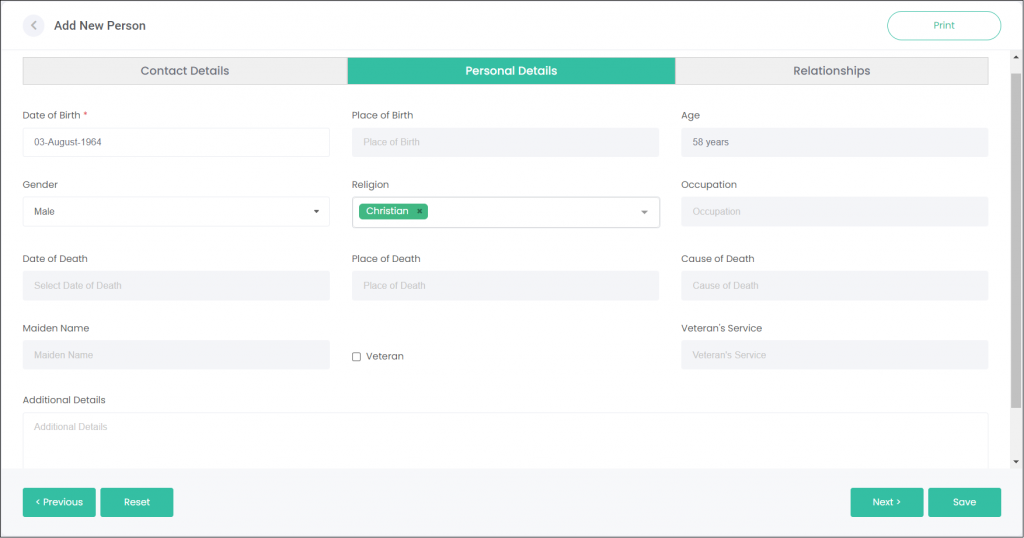
The Personal Details tab allows for more information to be captured about the person. This is where the person’s Date of Birth/Death, Gender, and Place of Birth/Death can be tracked, among other things.
This tab will look slightly different for Current persons compared to Deceased persons. A current person is shown below.
Most of the fields are greyed out, such as the Date of Death, Place of Death, and Cause of Death. These fields aren’t relevant to current persons, and only to deceased.
For reference, below is the same tab but with a deceased person. All the fields become available to use.
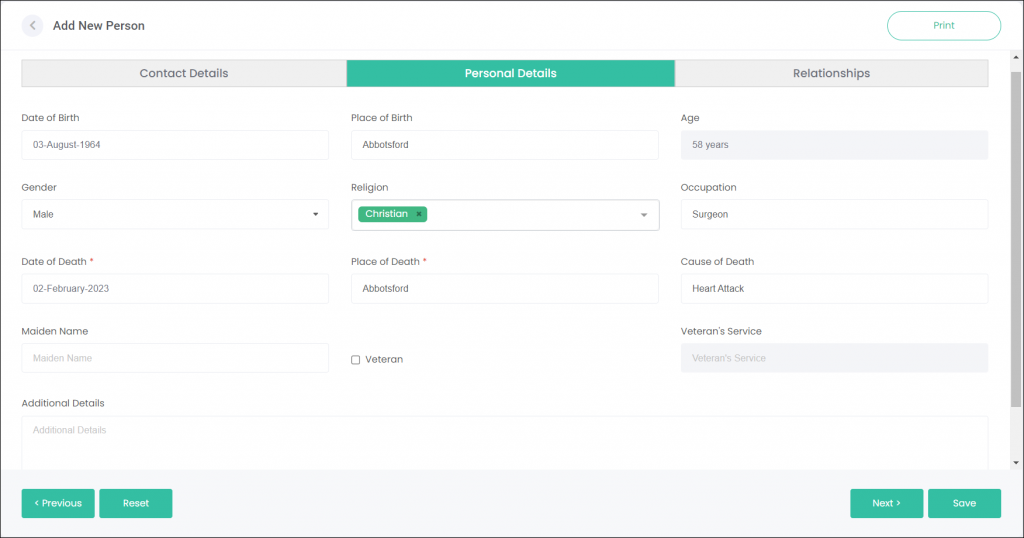
The Religion selection allows you to group persons by their religious affiliations. Besides being able to keep track of persons’ religion, you can also use this feature to create religion-specific contact lists for marketing communications.

Ticking the Veteran box opens the Veteran’s Service field, so you can capture where this person served. Again, this information can be used to create contact lists.

Relationships Tab
The Relationships tab tracks the relationships between byondcloud Persons. This relationship could be spouse, family, friend, or even more unique ones such as religious representative, executor or solicitor.
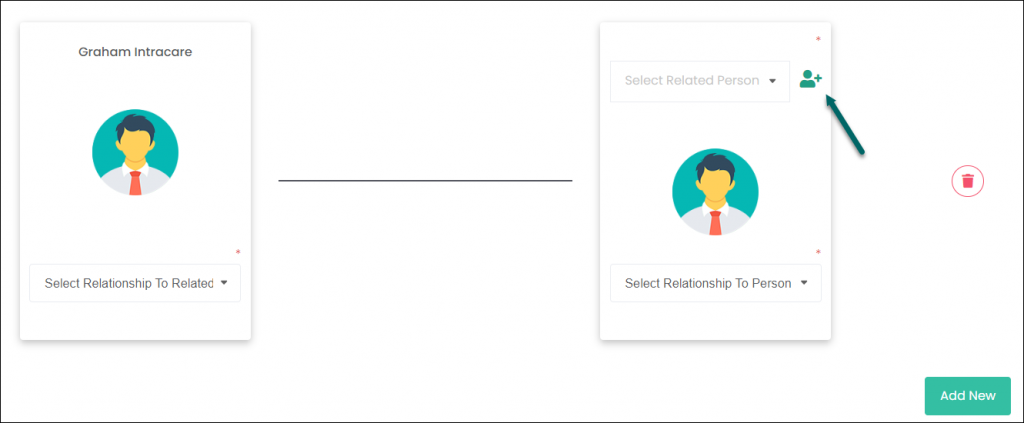
Below is an example of a Husband/Wife relationship between Graham and Rebecca.
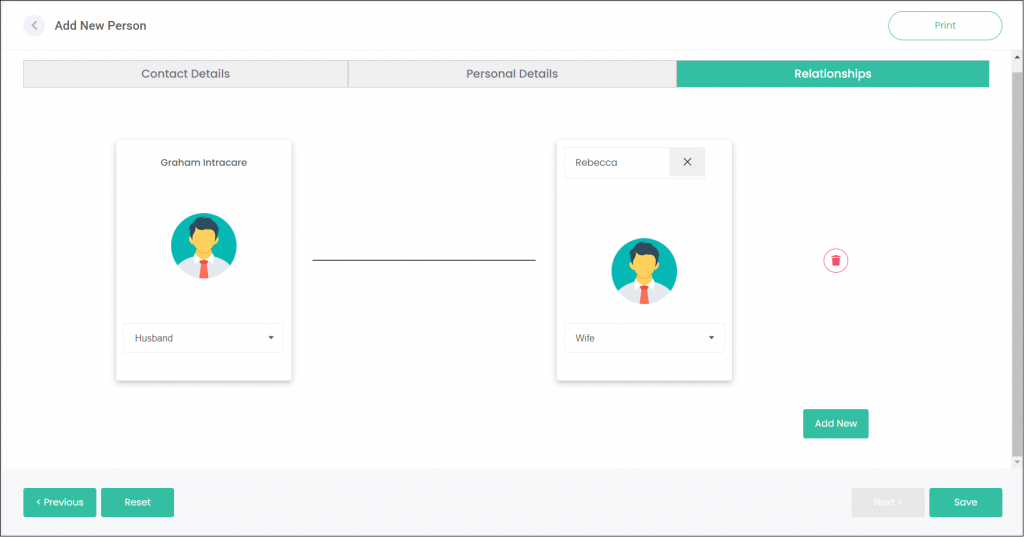
Click the button in the top-left corner of the related person box to add a new person from scratch.
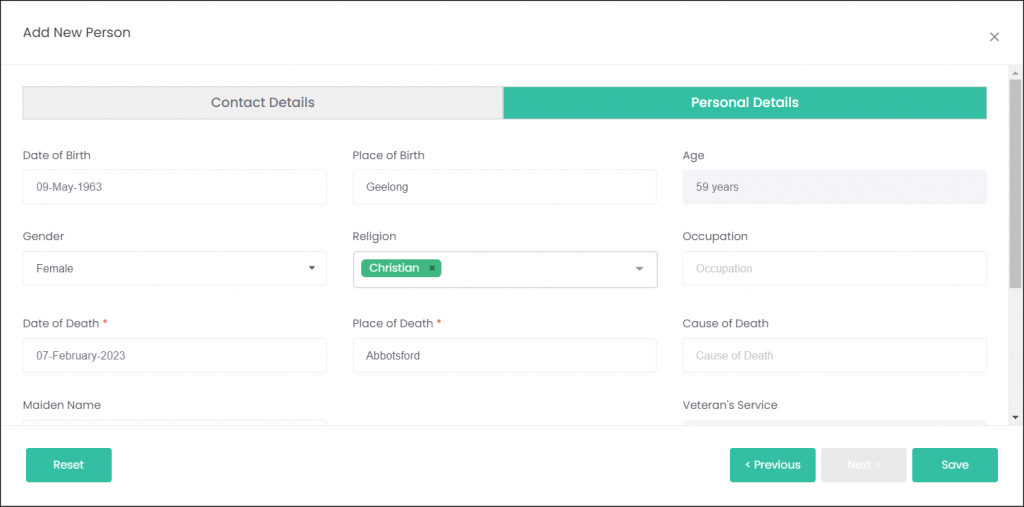
This opens an Add New Person window, where the details of the related person can be entered. Notice that this window doesn’t have a Relationships tab. To add more relationships to this second person, their record will need to be accessed separately.
Alternatively, rather than adding a new person you can search for an existing person using the text box next. Type in a first and/or last name and a list of matching records will display.

Click Add New to add multiple relationships. It will display as below while in the editor:
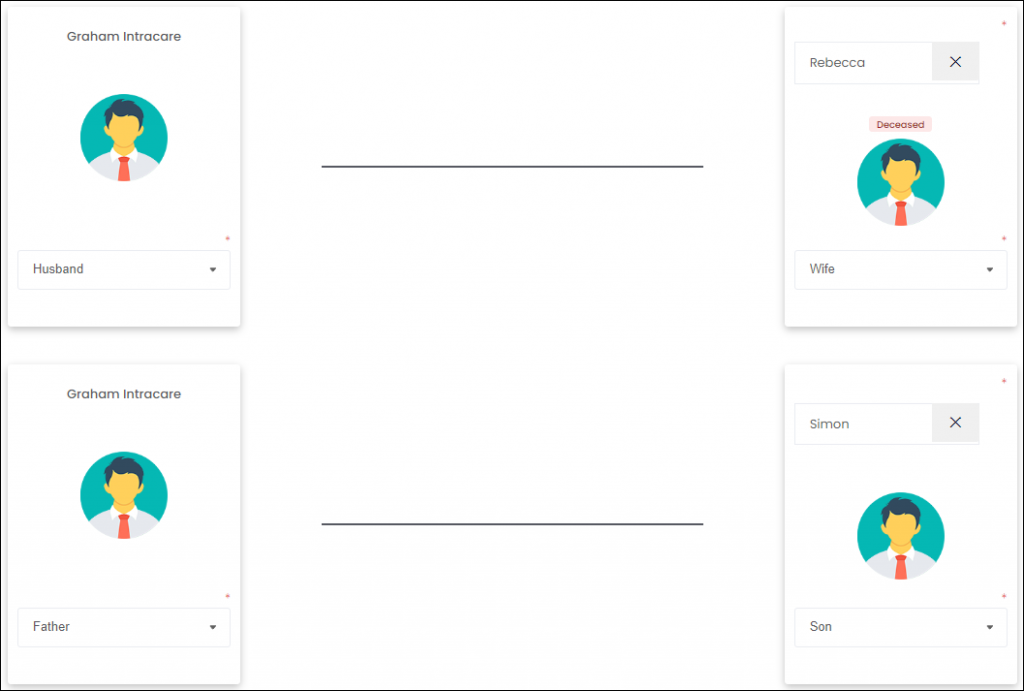
But, once the changes are saved and the record is opened in View mode, the relationships appear more compact and also shows the relatives’ Person Status:

Authorizer Tab
The Authorizer tab is only visible when viewing an existing person record, not when creating a new record.
It shows which Person records this record authorises if it is a Current record; or, which Person record/s this record is authorised by, if it is a Deceased record.
In this way, you can quickly who holds the rights to your person records.
