Extended Catalog Entry
Begin by selecting an entity – branch or site- from the Entity table.
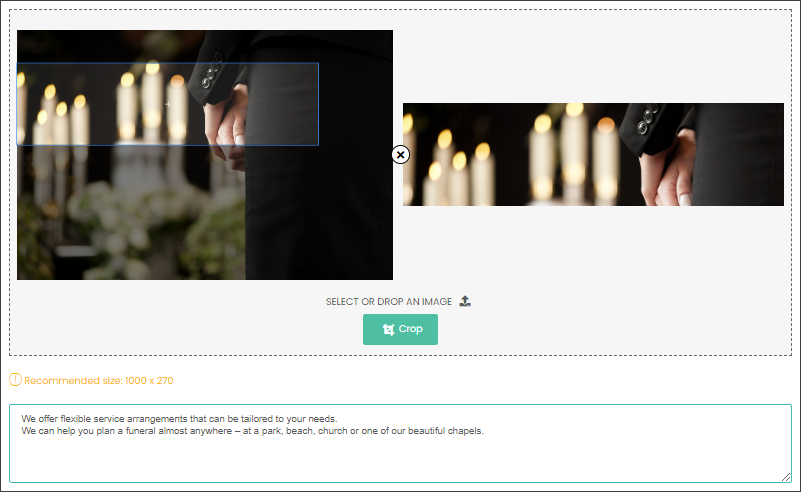
Then, select or drop an image and crop it to a size optimal for the website. Your customers will see the image at the top of web page showcasing your business.
Then type in or paste an extended description of your branch or site in the text field below the image.

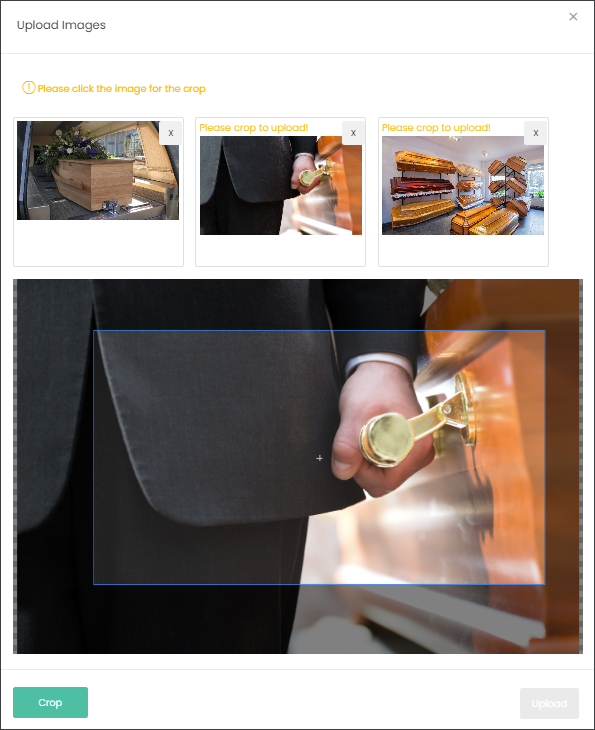
Below the text field add additional photos, videos and/or audios that will showcase your branch. You can add them by clicking on the grey field and selecting from your computer files or dragging and dropping imagery directly into the field.
MarketMakr will suggest recommended file sizes and allowed file types for videos and audios. For images, you will need to crop these to an optimal size and then press Upload.


If you have changed your mind about selected image/s, you can delete them by pressing on the ‘x’ symbol on the top right corner of the image.
Lastly, type in the email address which will be notified when your customers are making inquiries on your website regarding your products.

When you’re satisfied with your Extended Catalog Entry press Save.

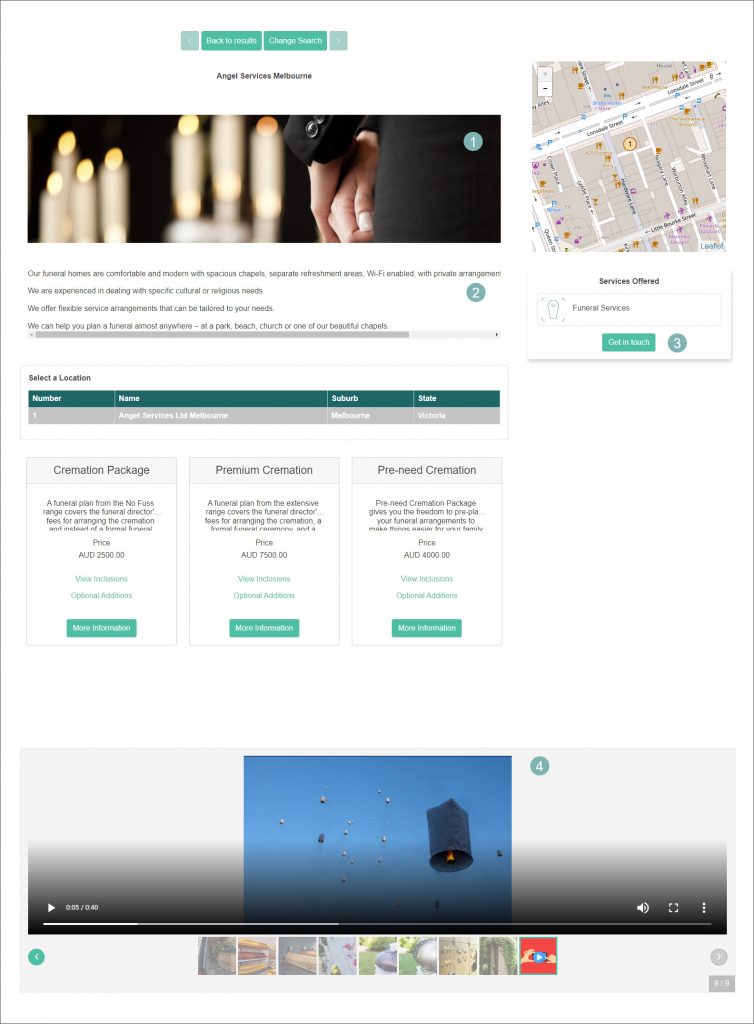
Let’s look at how an Extended Catalog Entry will look on your website.

- The first image selected in the Extended Catalog Entry.
- The extended description showcasing the Entity.
- When your customers press the Get in touch button their inquiry will be directed to
the email you have nominated in the Extended Catalog Entry. - A range of images and/or videos that have been selected to showcase your
branch/site.
