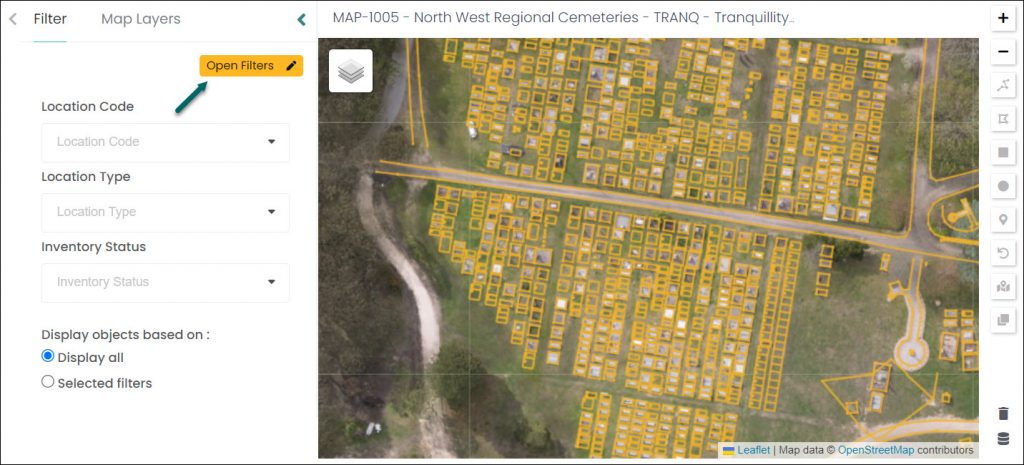
To help you view or filter selected locations within your map project, you can add Map Filters.
During the import process while creating your map project, you may have included some optional filters in your import template, e.g., Location Name, Remains Type.

If you don’t have optional filters configured, you will still have filters available from your compulsory import data, i.e., Site, Location Code, Latitude, and Longitude.
Let’s start using those filters in your map. From the MapMakr dashboard, open one of your map projects with their Project ID.
On the left, you should have the Filter tab open. From here, click Open Filters.

The Edit Filters window displays. The filters listed on the left are hidden, those on the right will be shown on your map project.

You can move the filters / fields you would like to use from the left column to the right column by clicking on a field name and clicking on the right arrow. Or, select filters from the right column and hide them by clicking the left arrow.
You can also click on the Up and Down arrows on the right to change the order of the selected filters on the search screen.
Click Save.
Filters will display next to your map so you can filter your map results accordingly. In the example below, we can now filter by Location Code, Type or Inventory Status.

Type the first letter of the option you would like to filter by, for example type ‘G’ for Grave in the Type field – then select Grave from the drop-down list.

If you select Display all and Apply, only locations matching that filter are displayed in the list, but all markers for the area you are working in are displayed on the map regardless of the locations listed.
When Selected filters is selected, only the locations and corresponding markers matching the filters will display on the map.

