In this article, we’ll demonstrate adding a single individual location record. This would be useful, for example, if you were to add another location on the end of a row.
This process is not helpful if you wish to add multiple locations at the same time. We recommend importing your records if you have more than one or two to add. We have an article on Import processes here.
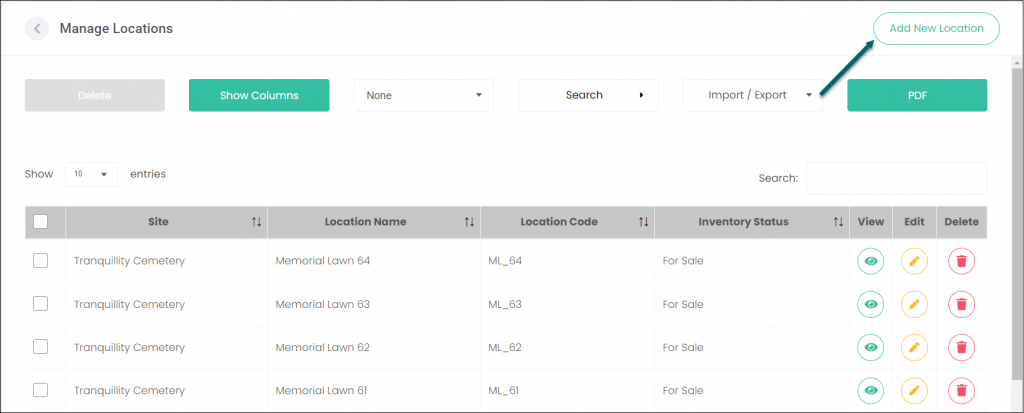
To begin adding a single location, select Add New Location from the top-right of the Manage Locations screen.
The following screen displays:
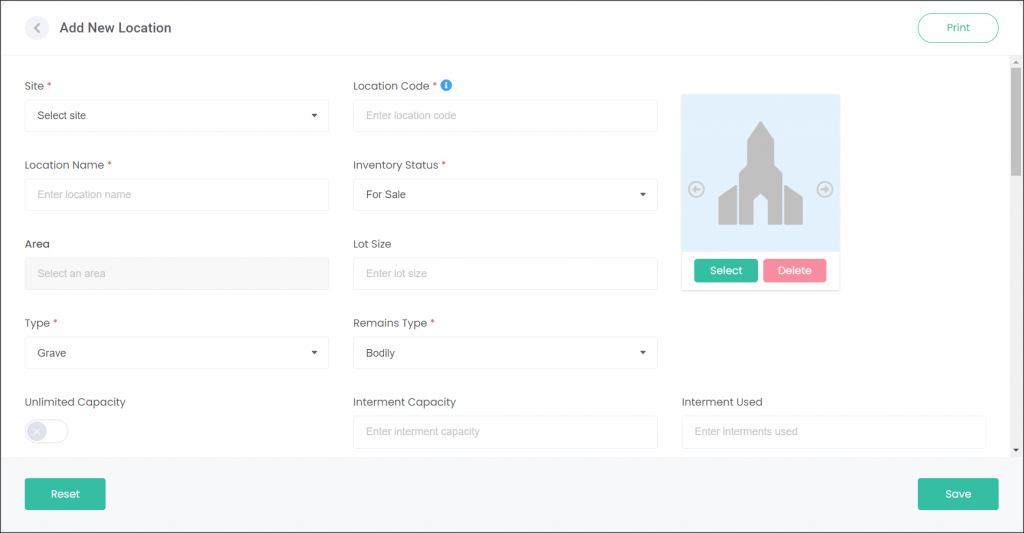
Let’s go through and complete all the fields together!
Location Details
Any fields marked with a red asterisk are mandatory, those without are optional. For example, see the Site, Location Code/Name, and Inventory Status fields below.
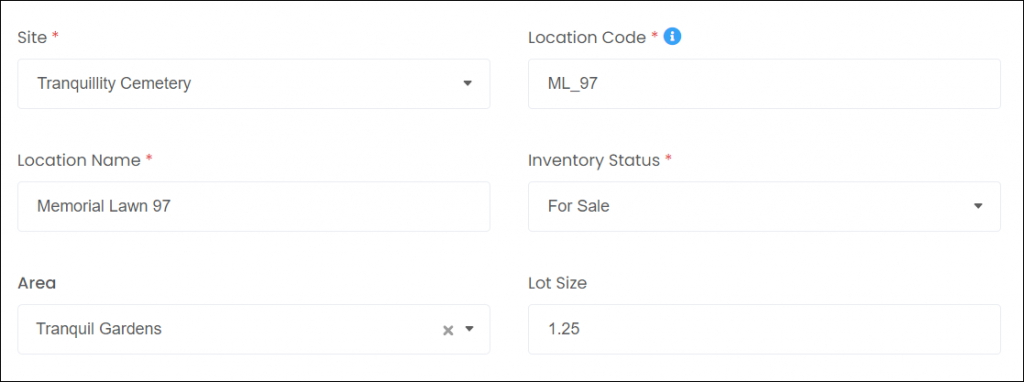
Use the Site field’s drop-down selection to pick from one of your configured byondcloud sites.
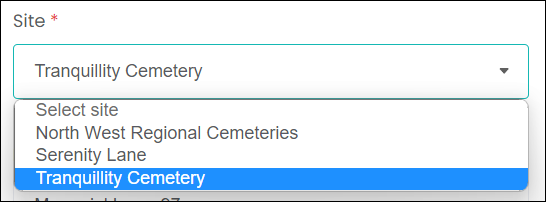
Next, give your new location a Code and a Name. Ideally, the code will be a shortform expression of the name. In our example, the name is “Memorial Lawn 97”, therefore our code is “ML_97”. These codes and names are entirely up to you and your preferred way of organising your sites.
Here are some more examples:
| Name | Code |
|---|---|
| Lawn Graves – Row A – Grave 3 | LG-RA-G3 |
| Wall Niche Row C Position 10 | WNRCP10 |
| Monumental Grave – Area D Plot 12 | MG-ADP12 |
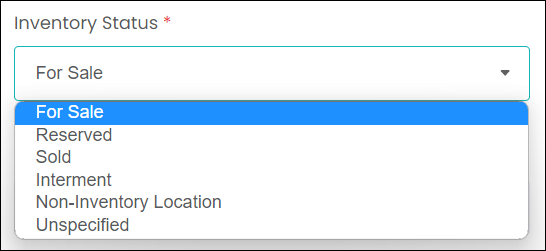
The Inventory Status drop-down provides a list where you can mark your location as For Sale, Reserved, Sold, etcetera. This selection will automatically update as other processes are completed in the application.
For example, if the location is sold to a customer in Manage Invoices, then the location will automatically be marked as Sold.
Add an Area if you have one configured. These are created in the Define Sections and Areas section of the Manage Sites screen in byondcloud.
By applying this location to an area, it can then be advertised in the MarketMakr module as part of that area. Go to this article to learn more!

You can optionally add a Lot Size. This field requires numerals only, and is just a simple place to capture square metreage or other measurements.
Add in a Type and Remains Type. The Type relates to the type of location it is – whether it be a grave, monument, plant, etc.; the Remains Type relates to the type of remains that will be interred/memorialised here – such as bodily, cremated, memorial only, etc.
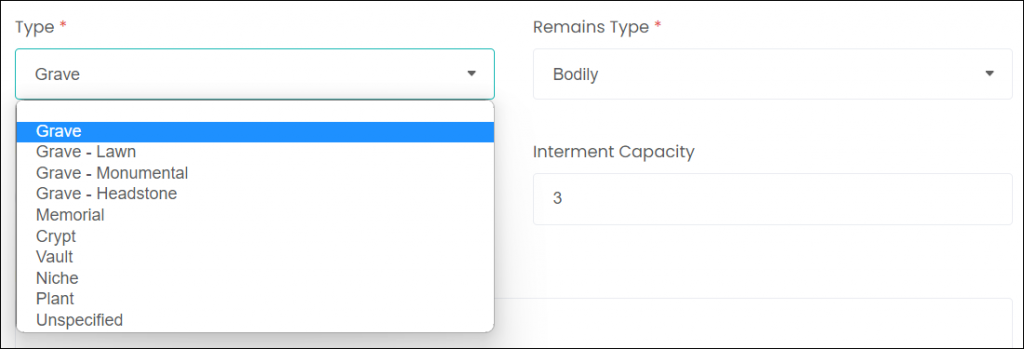
The Interment Capacity and Interment Used fields let you limit and track how many interments can/have occurred at this location. If the used interments reaches capacity, you will no longer be able to add deceased records to this location without increase the capacity on the location record.
Ticking Unlimited Capacity blocks the Interment Capacity field, so you can add as many deceased records to this location as you want – think cremated remains scatter locations, or storage locations.

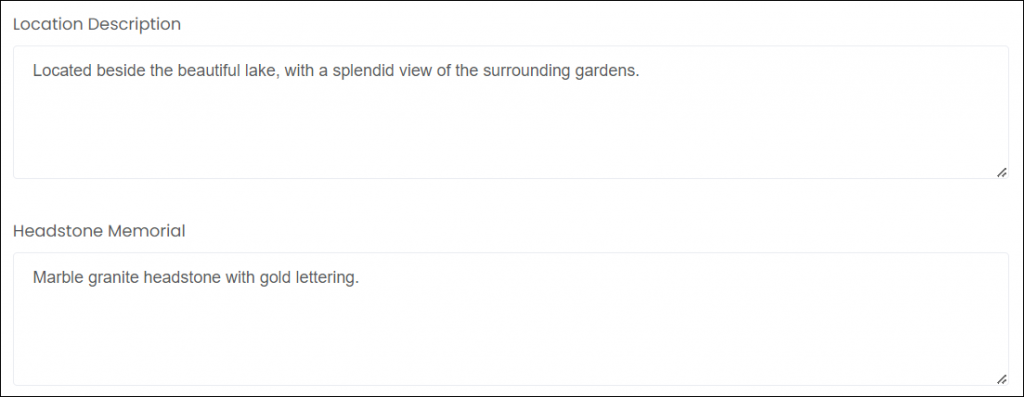
The Location Description syncs with MarketMakr, giving your customers some information about this location or the area around it.
The Headstone Memorial field is where you can enter details about the headstone or plaque, or even give notes about the kind of design requirements you might have in place for locations in the area.
If this location has some interesting qualities, tick Point of Interest and give some details. For example, this could be a war grave. Or, you may want to create a location for your gatehouse, chapel, or function room. In that case, you could enter some details about the building here.

Adding Images and Videos
To add a photo or video of the location, click on Select and choose an image/video from your device to upload.

You can add multiple images/videos, and then use the left and right arrows on the image to scroll through the images.
If the For public display box is ticked, this image will also display on the Deceased Search function which is viewable by the public, so ensure that images marked for public display are not of a confidential nature.
Mapping and Map Projects
There are two key ways you can map your locations in RecordKeepr. The first is to map it in the MapMakr module, where you can apply drone imagery and map your location with either a marker or a polygon shape. These processes will be explained in our MapMakr articles (coming soon!).
If the location has been mapped in MapMakr, simply select the Map Project from the drop-down list. This will read the information from MapMakr, and display the map below.

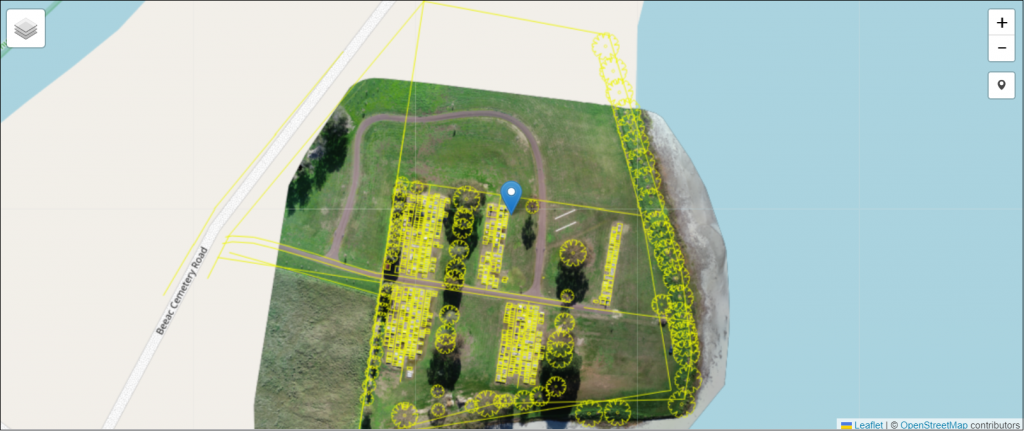
The second option, if you don’t have your locations mapped in MapMakr, is to used the Map Search function. This field is a search engine that connects to Google Maps and allows you to find your site by search for it just as you would in Google.

Once you’ve found your site, click the little marker button on the right-hand side of the map. This allows you to then click-and-drag your marker to the location’s position in your site.
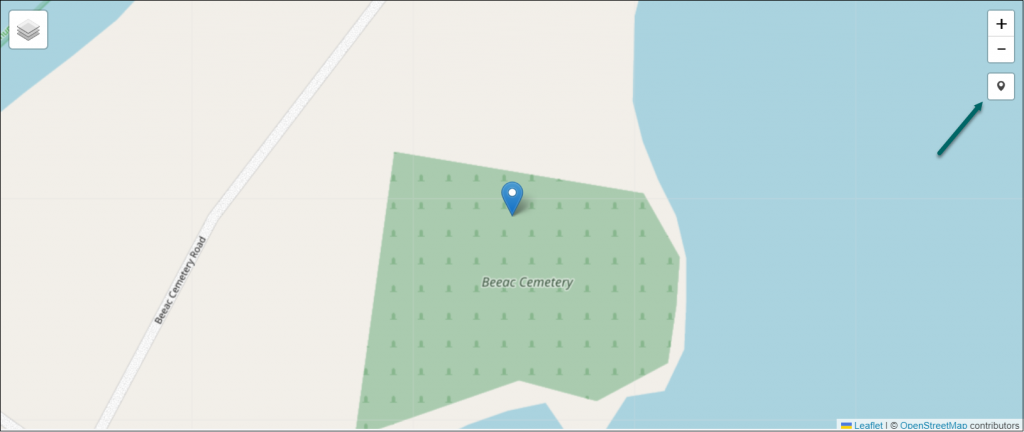
Rather than clicking and dragging, you can also manually enter the location’s latitude and longitude coordinates.

Note: if you’re using a MapMakr map project, you won’t be able to move the pin or change the coordinates in RecordKeepr. You would need to change the location’s position in MapMakr.
Once all your location details have been entered, click Save. The following message displays – click Done.
