On the Assign Plans to Entities page, you assign the products and services to your branches.
This allows you to show what is available at which branch or site.
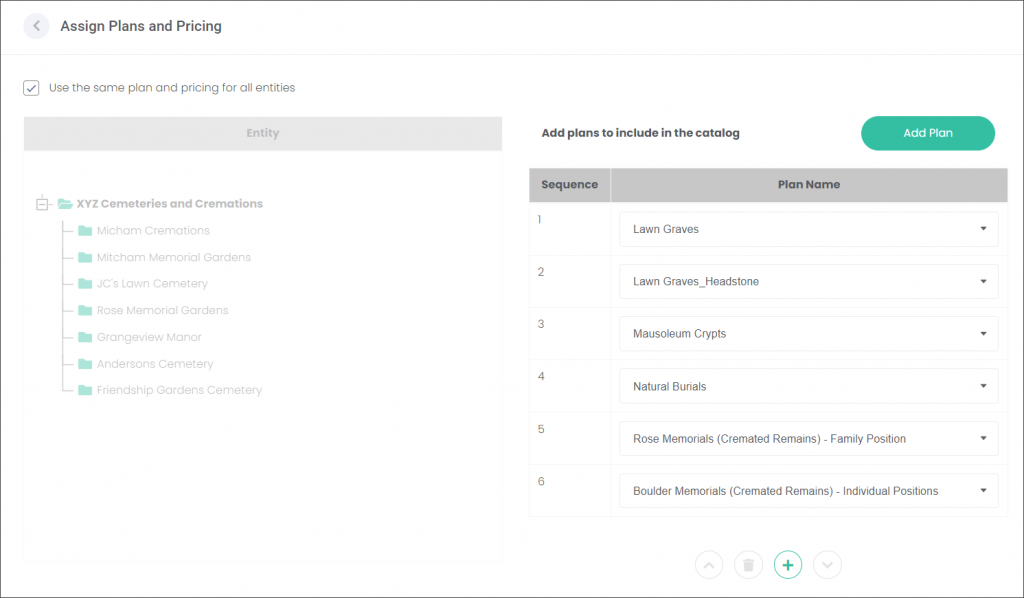
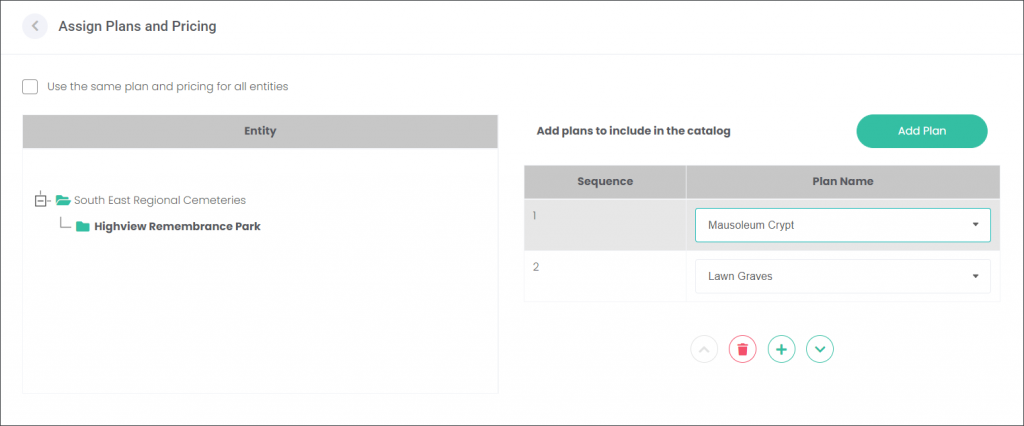
Use the same plan and pricing for all entities
When assigning Plans to your branches, you can decide whether you will assign different Plans to individual branches/sites or Use the same plan and pricing for all entities.
If you decide to use the same Plans and Pricing for all branches, check the corresponding box on the top left of the screen.

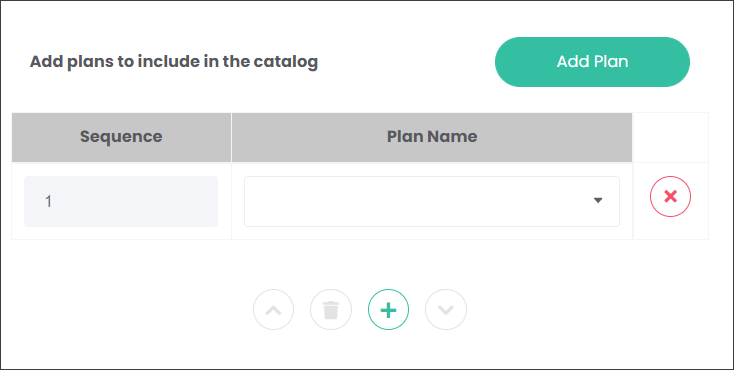
Then press the Add Plan or green plus button to add the Plans.
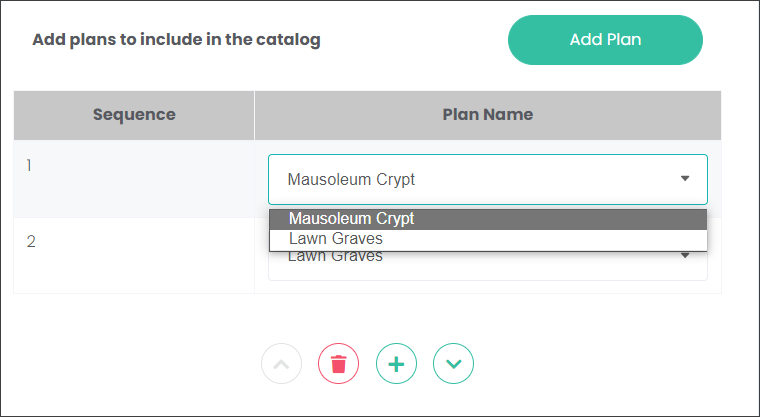
When the 1st field appears press the down arrow and select from the list. The list includes the Plans created on the Maintain Plans and Pricing page. Select the Plan that you would like to appear first on the website.
Continue adding the Plans following the approach outlined above until you are satisfied with the list.
MarketMakr will display the Plans according to your selection.
Re-order the Plans
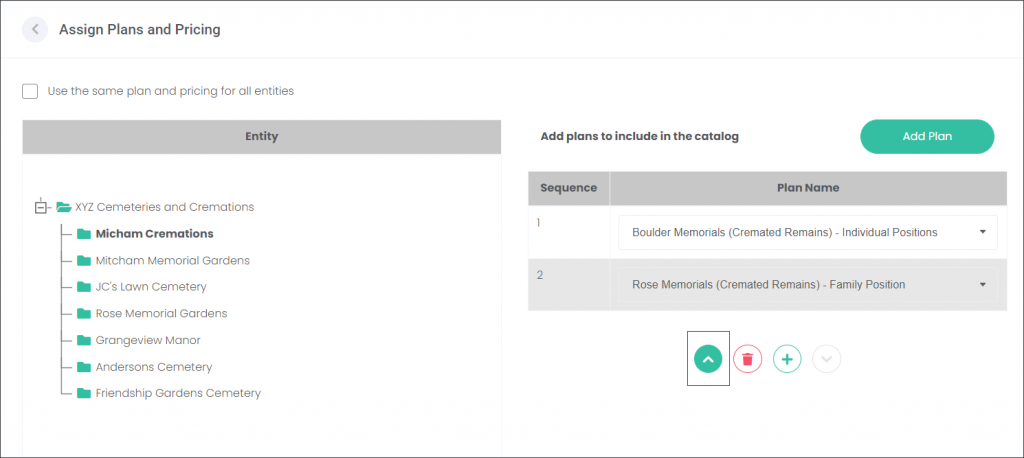
You can change the order of the Plans displayed on the website by selecting the Plan and pressing the down or up arrow.
Assign Plans to individual branches / sites
When you want MarketMakr to display different Plans for branches, leave the box in the top-left corner unchecked.
From the Entities table, select a branch and assign Plans by following the approach outlined above.
Plans on your website
Plans will be displayed on your website according to your descriptions on the Maintain Plans and Pricing page and the branch selection on the Assign Plans to Entities page.
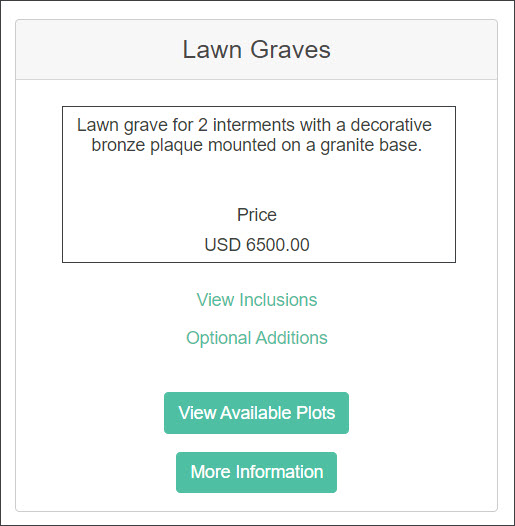
On the website the Plan Name, Plan Description and Price are the first information presented to your customer.
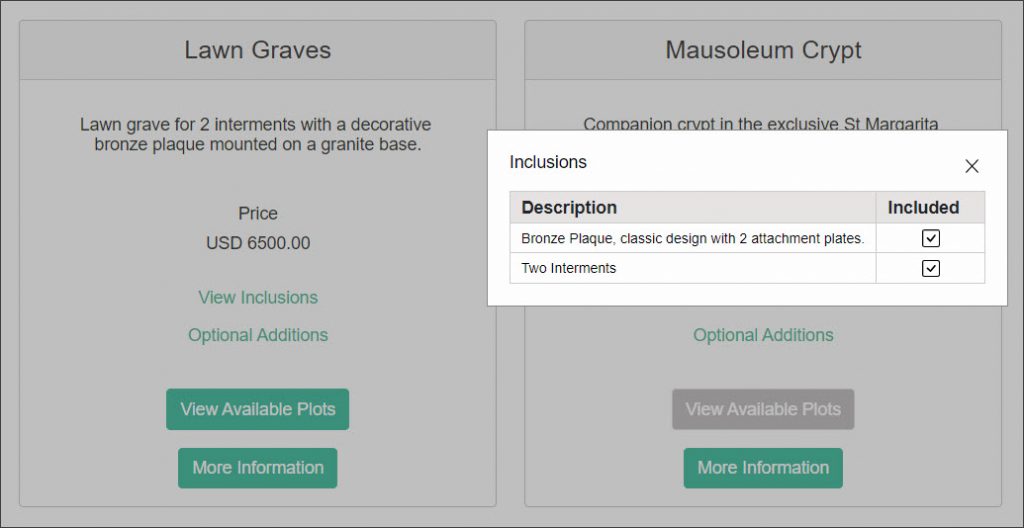
When your customer would like to find out what is included in your Plan, they can choose the View Inclusions option. The information entered on the Inclusions tab will be displayed as a pop-up window.
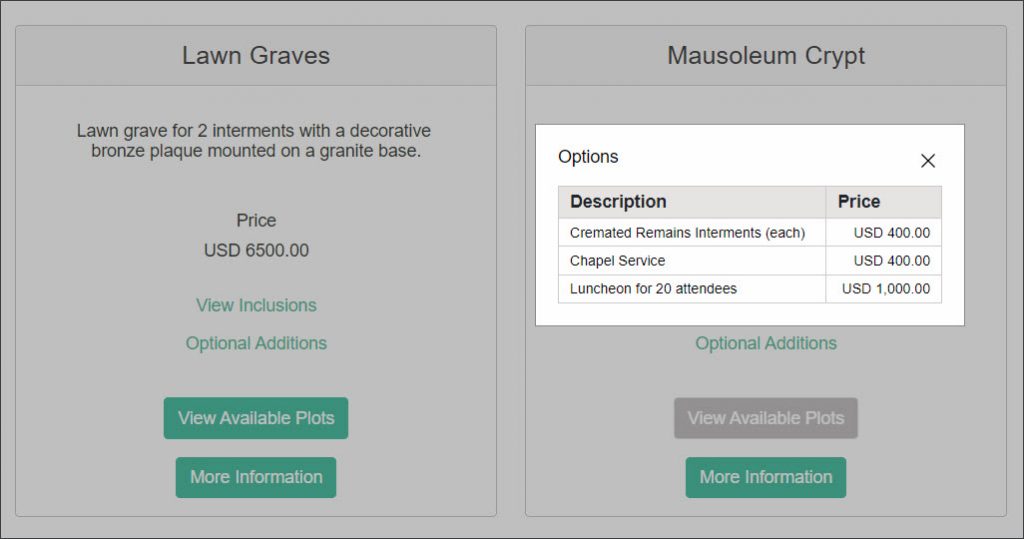
When the customer would like to find out what else they can purchase with your Plan, they will choose the Optional Additions button. The information entered on the Optional Items tab will be displayed as a pop-up window.
The Plans are displayed in the order selected on the Assign Plans to Entities page. In our example, Highview Remembrance Park offers two Plans at their Melbourne branch: (1) Lawn Graves, and (2) Mausoleum Crypts.
When the customer would like to contact your business about your offer, they can select the Get in touch or More Information buttons. The customer will be presented with a pop-up window requesting their contact details. The inquiry will be directed to the email address nominated in the Extended Catalog Entry.
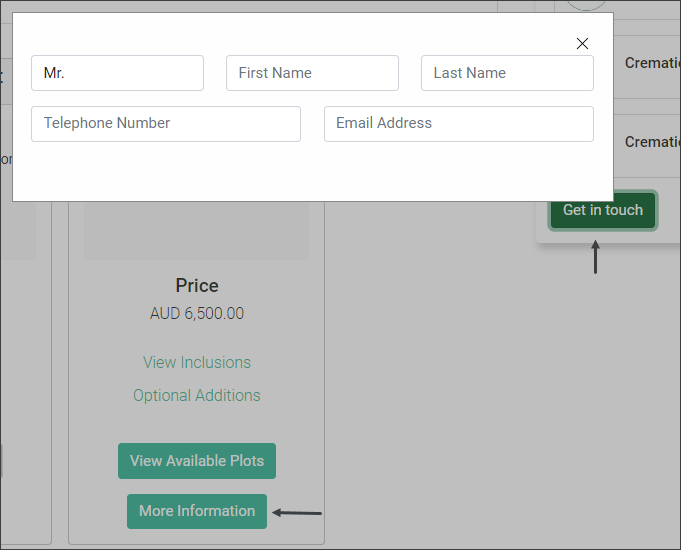
The nominated address will receive an email with details regarding your customer’s inquiry; from the customer’s contact details to their search criteria.
