This is where locations within a cemetery are added and managed.
Location details such as type of grave, location code, interment capacity and remains type can be added, viewed, or edited here.
You can navigate to Manage Locations either via the side menu or via the Dashboard.
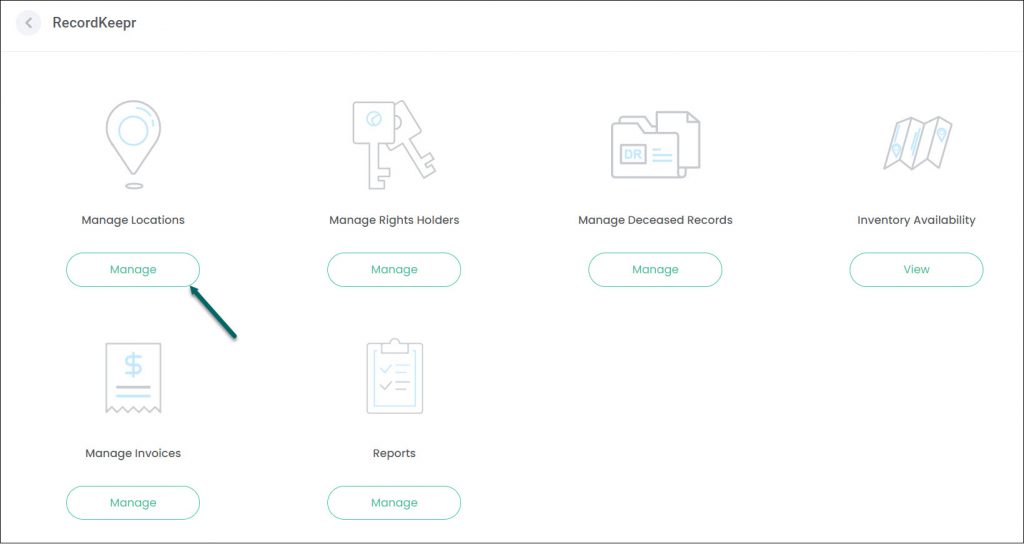
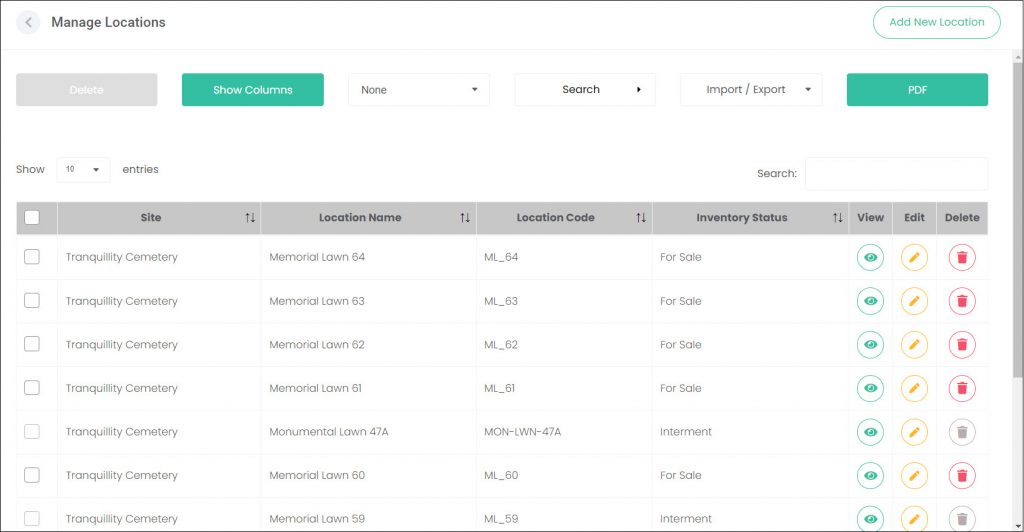
Key Features
Let’s go through some of the key features on this screen.
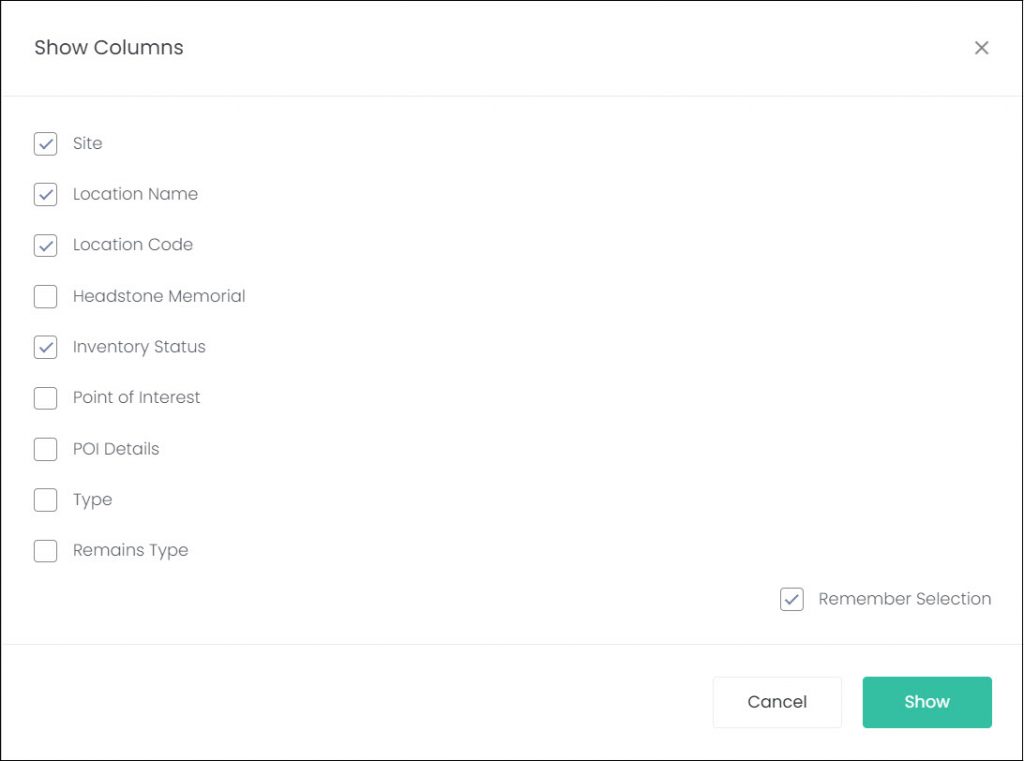
Show Columns
Select which columns you want to display on the screen, by clicking on Show Columns. Simply select / deselect the columns you want to show. Choose from:
- Site
- Location
- Headstone Memorial
- Inventory Status
- Point of Interest
- POI Details
- Type
- Remains Type
Click Save.
You can also tick the Remember Selected checkbox and the system will remember which columns to display when you next log in.
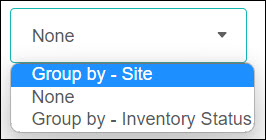
Group by
You can group location records by Site, Inventory Status or None by selecting the relevant option in the Group By drop-down list.
For example, if you click on Group By – Inventory Status, the list will display locations grouped by status i.e., all For Sale locations will be grouped together, all Interment locations will be grouped together, and so on.
Search
Clicking on the Search button opens several fields to filter locations by Site, Location or Inventory Status. Click Search (to the right of these fields) to process the search, or click Reset to clear the search.
TIP: If searching for a specific location, you can start typing the location name in the Location field instead of scrolling through the entire list.

Quick Search
You can type a word in the Quick Search field to search for any term or text present across the displayed columns.

Import / Export
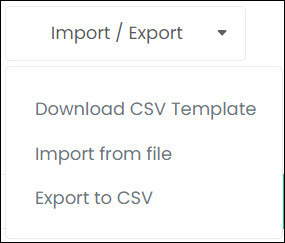
You can import / export locations from a CSV file or download a CSV template by clicking on the Import / Export field and following the prompts.
For help on how to import / export from a CSV or Excel file, please refer to the Importing records into RecordKeepr article.
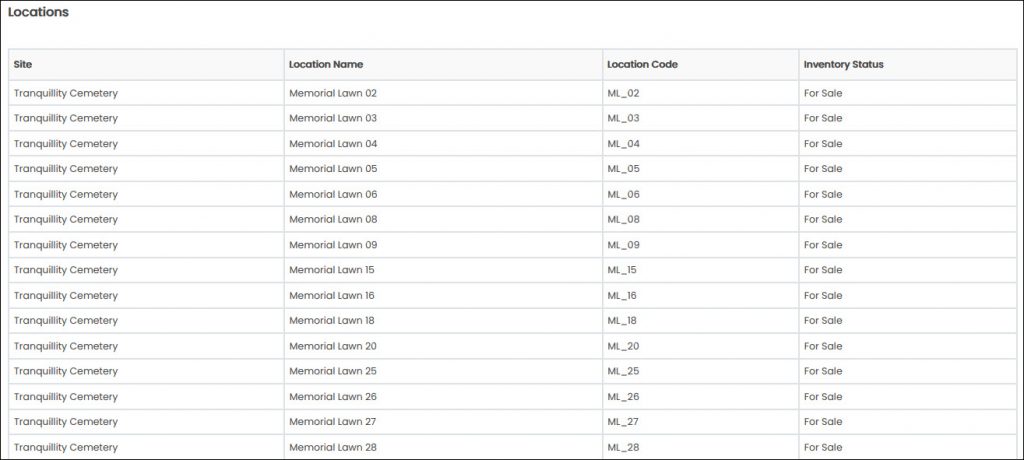
To download and print a PDF document of the locations listed, click on PDF.
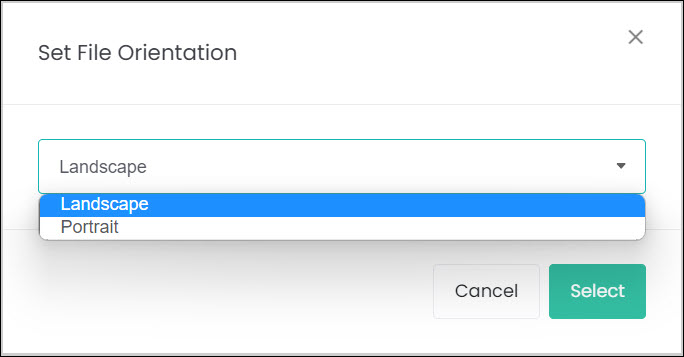
Choose either Landscape or Portrait from the drop-down list and click Select.
The PDF document will include any columns you previously selected.
Show entries
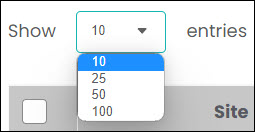
You can change how many records display on the screen, by clicking the down arrow in the Show entries field.
The default is 10 entries, however you can change this to 25, 50 or 100 entries.
Sort
You can also sort each column using the Sort function (up / down arrows next to each column heading).

