Email Templates are used to design the emails that are sent to the contact lists in Floral Programs. This topic will explain how to design those templates using the Email Template editor.
The Email Template editor can be opened from the Dashboard in the Floral Programs ‘ Configuration screen or through the Side Menu, under Configuration.
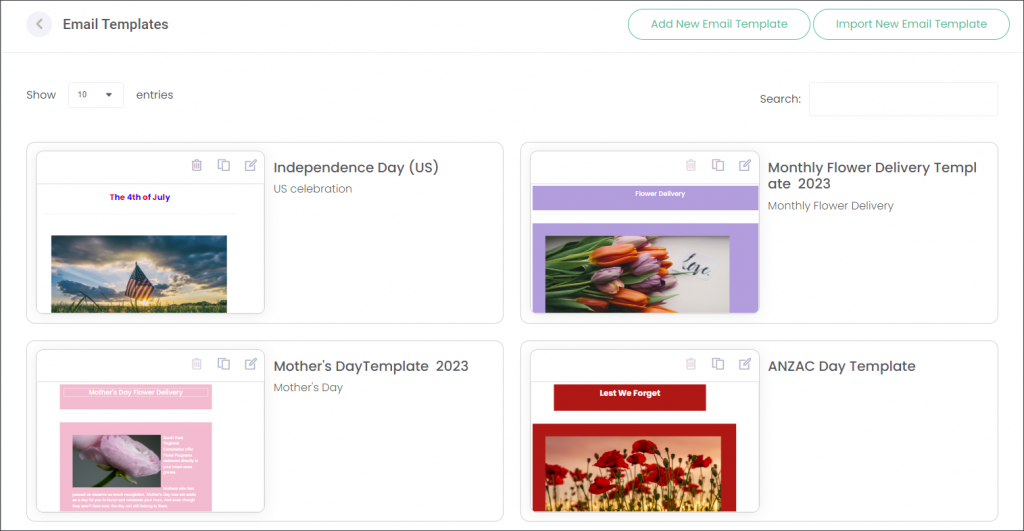
The Email Templates screen will show existing templates and provides options to add new templates or import templates.
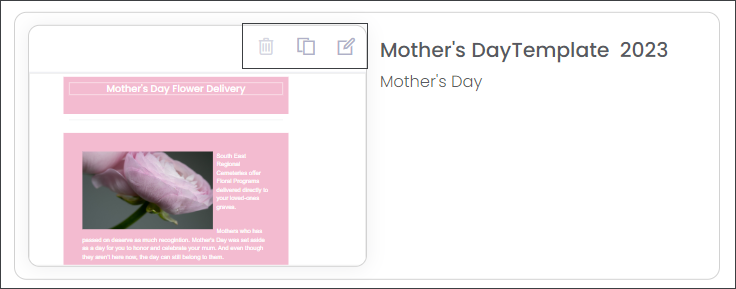
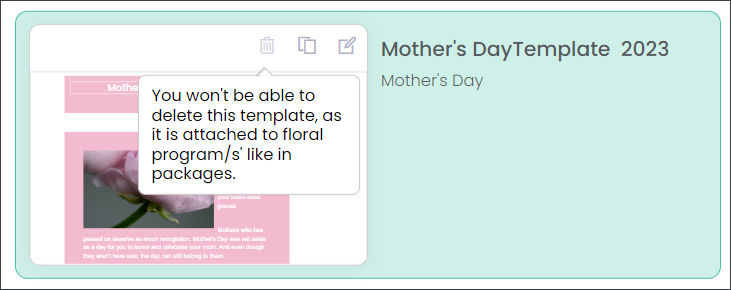
Templates can be deleted, duplicated, or edited with the buttons on the top-left of each template.
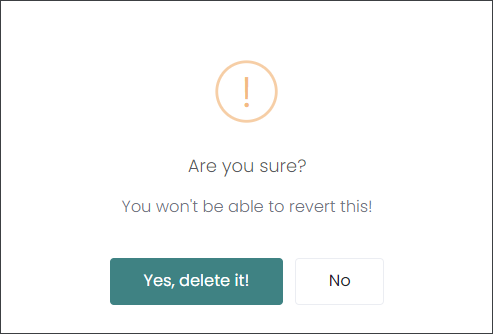
Click the delete button will open the following pop-up, confirming that you wish to delete the template.
Click Add New Email Template to configure a new template.

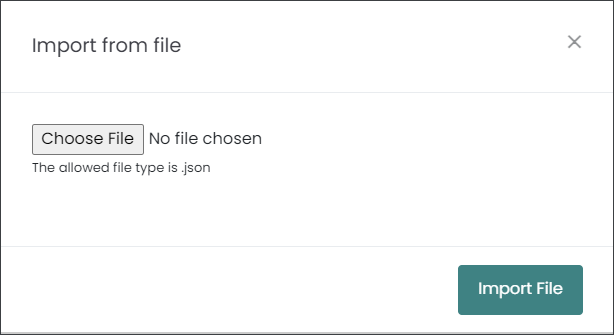
Or, click Import New Email Template to open the Import from file function.
From here, browse your computer for a .json email template file. This allows templates to be exported/imported between byondcloud accounts.
Add New Email Template
From the Email Templates screen, click Add New Email Template.

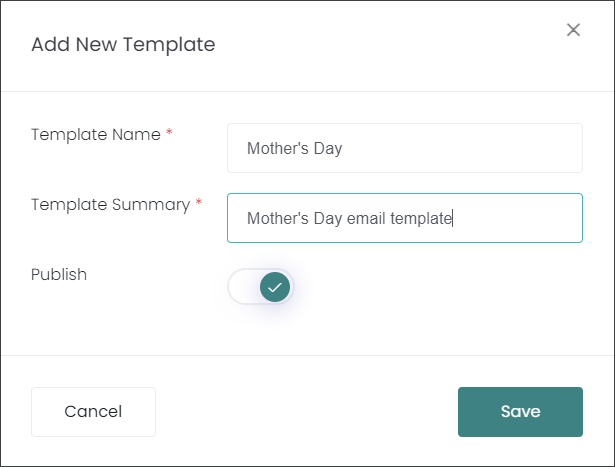
The Add New Template pop-up will appear. Give your new template a name and summary, mark whether it will be published, then click Save.
This will open the Update Email Template screen, where the layout and design of your new template can be configured.
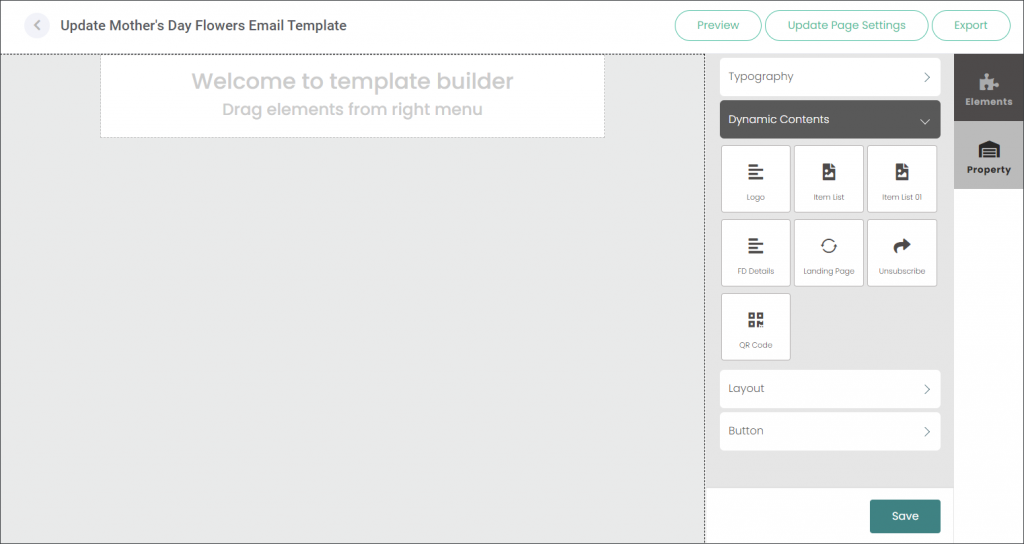
The template’s design content will be displayed on the left-side of the screen. Elements on this screen can be edited, re-positioned, duplicated, and deleted.
There are two tabs on the right side of the screen, Elements and Property.
Elements
The Elements tab is where different content, widgets, and text can be selected and added to the template on the left.
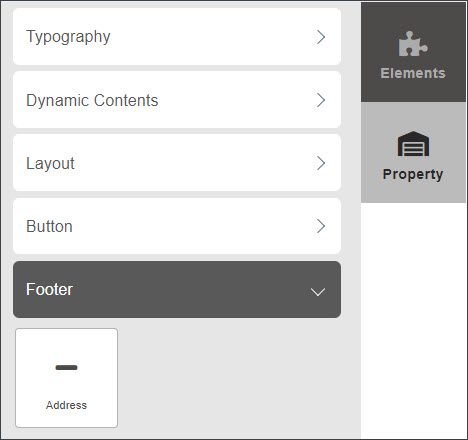
The elements are separated into four categories, Typography, Dynamic Contents, Layout, Button, and Address. Each will be explained below.
Typography
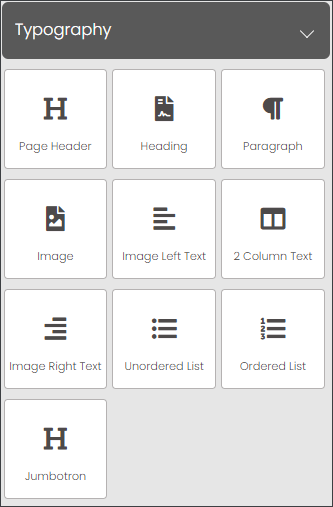
The Typography elements are free-text fields, allowing any text to be typed into the template.
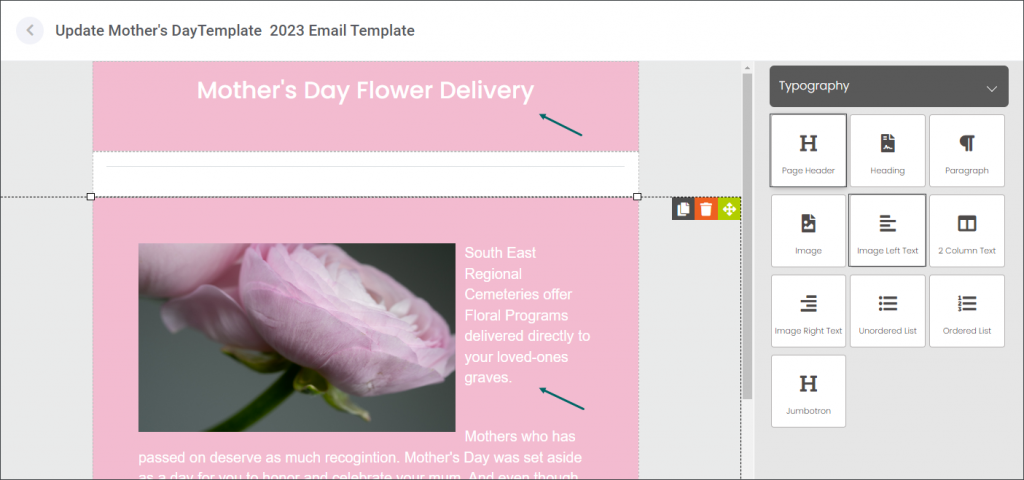
For example, the Page Header has been used below to type “Mother’s Day Flower Delivery” and the Image Left Text to briefly describe the campaign:
Dynamic Contents
Dynamic Content elements are widgets that have specific and unique functions.
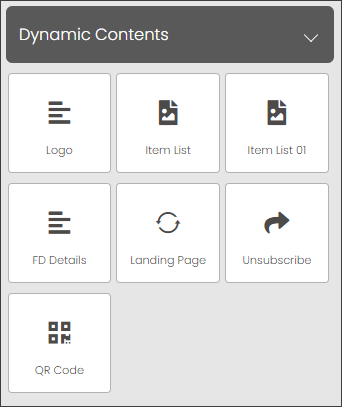
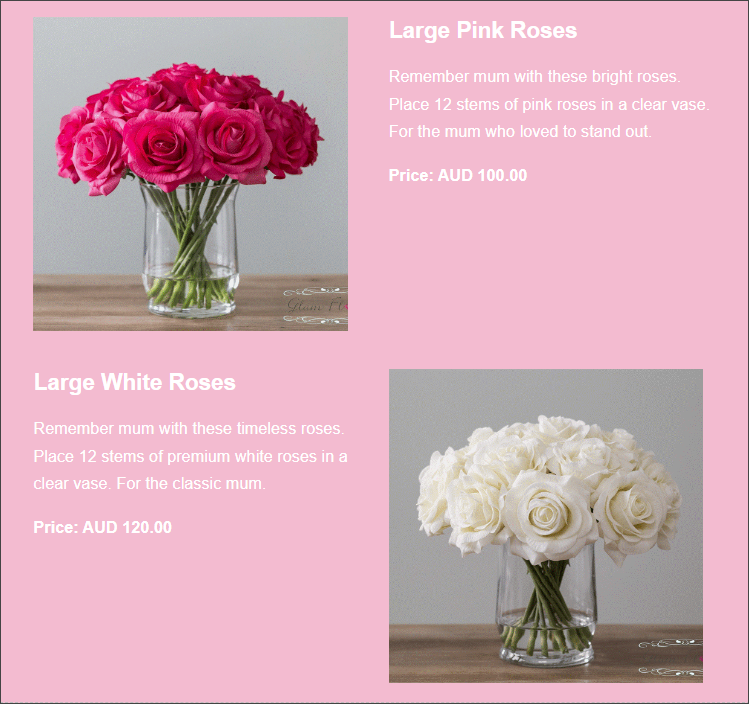
Item List will generate a list of all the items on offer in the associated Floral Program, complete with item names, descriptions, and prices.
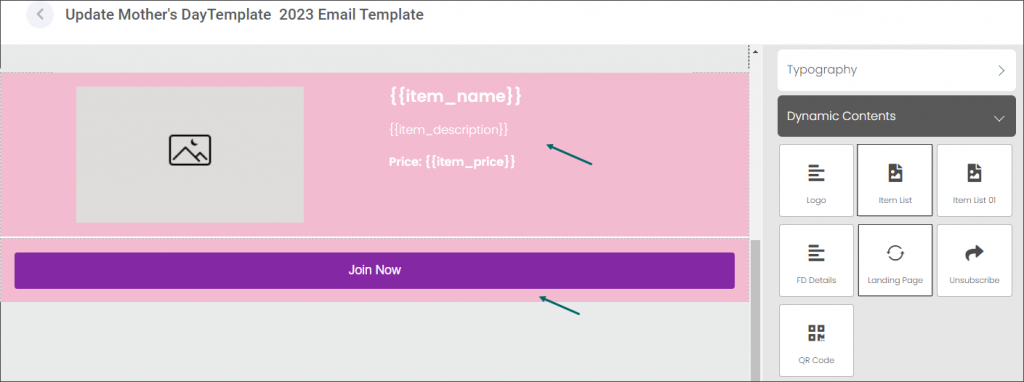
Item List will generate a list of on offer in the associated Floral Program, complete with item names, descriptions, and prices.
Landing Page will generate a click through link that will take customers to a website landing or sales page.
Unsubscribe will generate a link that allows customers to opt-out of future email marketing.
The QR Code will allow customers to scan the code to be taken to a website or application.
Layout
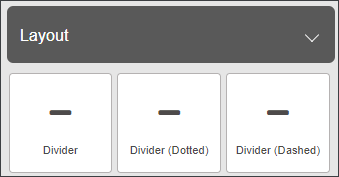
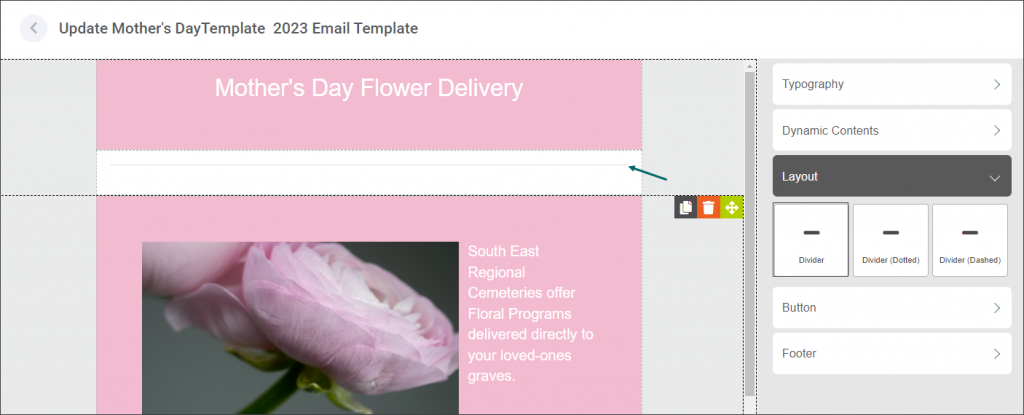
Layout elements give tools to change the layout of the template with dividers.
Button
The Button element creates a clickable button on the email template that can be configured for various purposes.
The button’s Text, Text Colour, and Background Colour can all be changed.

Footer
The Footer element allows an Address to be entered at the base of the template.

Property
The Property tab allows the overall look and layout of the template to be changed.
There are three functions on this tab, Background, Padding, and Email Width. Each of these will be explained below.
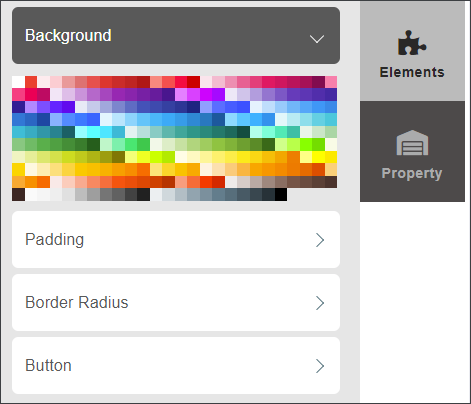
Background
The Background function changes the colour of the background of the email, or individual elements.
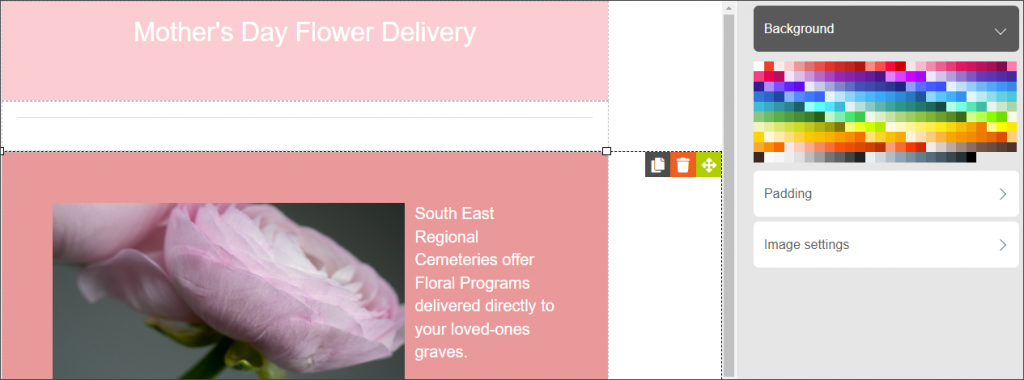
For example, in the above template a dark pink background was applied on the text while a light pink background was applied on the header.
Padding
The Padding function controls the distance between the central text/images of an Element and the outside edge of that element. More padding means there will be more empty space in the element, less padding means less space.
Take a look at the below screenshot. We have selected the Image Left Text widget in the center of the template and changed its upper margin padding to be 0px, giving it no upper padding.

When we change the padding to 50px, space is created between the central elements of the widget and its upper margin.

Email Width
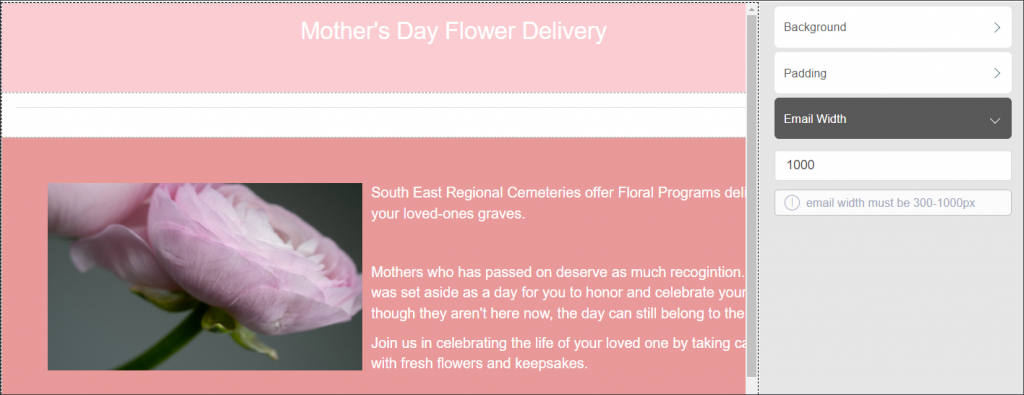
Email Width can be altered with this tool, in a range between 300 and 1000 pixels.
The screenshots below demonstrate two different widths: 600px and 1000px.

Preview, Export, and Update Page Settings
On the Update Email Template screen, there are three buttons in the top-right of the screen: Preview, Update Page Settings, and Export.

Preview
The Preview button will open the Template Preview window.
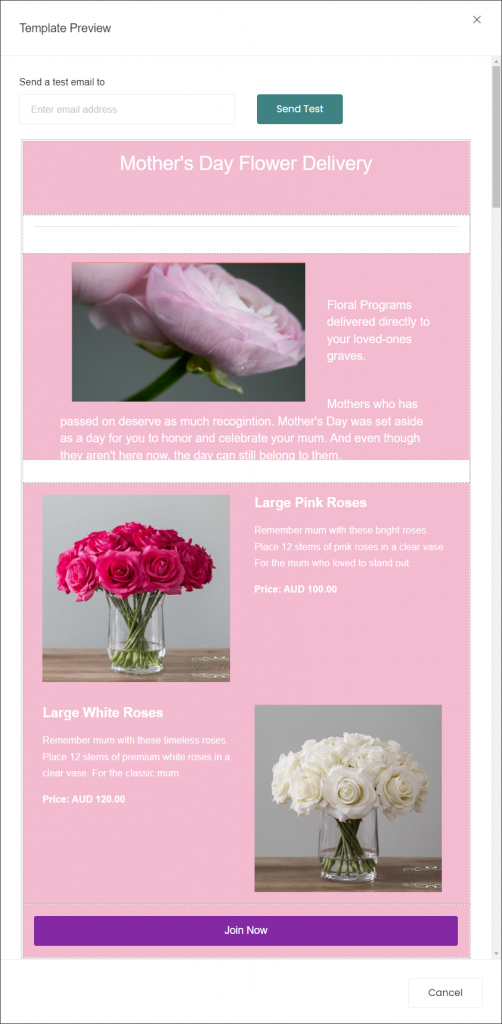
This window shows what the template will look like when it is emailed to customers.
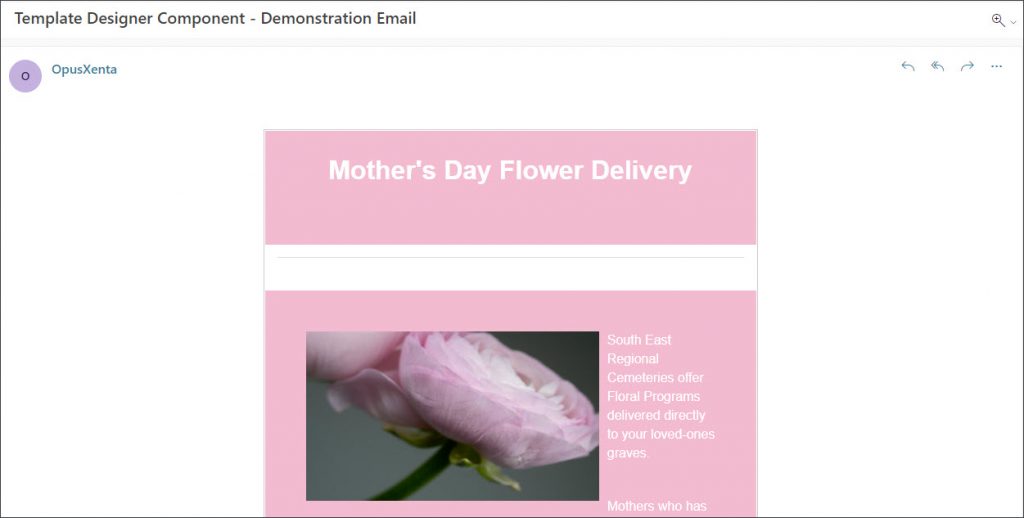
At the top of the preview, there is the Send a test email to option. Enter an email address here, and click Send Test to receive an email that shows exactly how the template will appear to customers.

See the example email below:
Update Page Settings
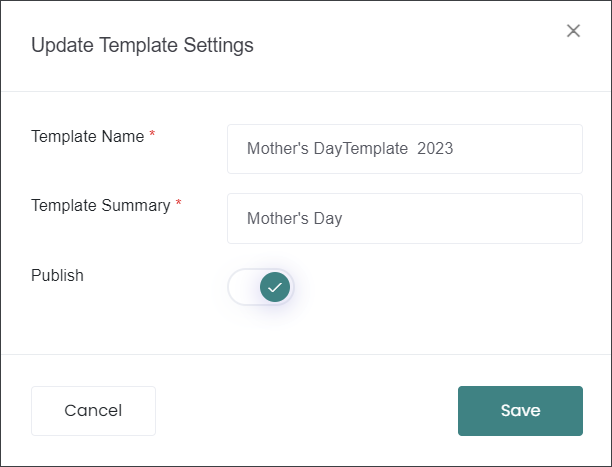
The Update Page Settings button opens the Upload Template Settings pop-up.
This window lets you change the Template Name, and Template Summary. You can also Publish or unpublish from here. Once changes are made, click Save.
Export
The Export button downloads the template as a .json file. Other byondcloud accounts can then import your template file into their template editor back on the Email Templates page.

