The Terminal payment method allows payments to be processed with EFTPOS devices configured with opuspay.
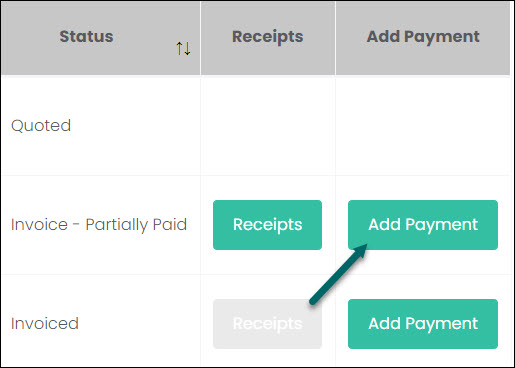
Click the Add Payment button.

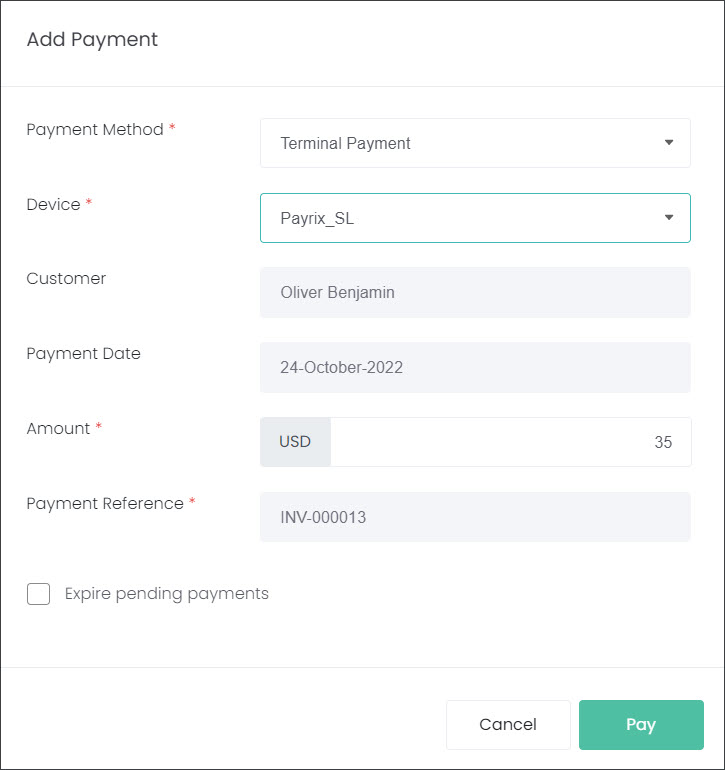
On the Add Payment pop-up screen select Terminal Payment in the Payment Method selection list.

In the Device drop-down list select the EFTPOS machine you will use to process the payment. This selection allows for multiple EFTPOS machines to be linked to your account.

The fields Customer and Payment Reference will be auto-populated from the details captured on the invoice, while the Payment Date will be auto-populated with today’s date.
Enter in the Amount being paid. This could be a partial payment, or a full payment, which will be reflected in the invoice’s Status when the payment is processed.
Press Pay.

Under the Payment Transactions section of the invoice, the Status will show as PROCESSING.

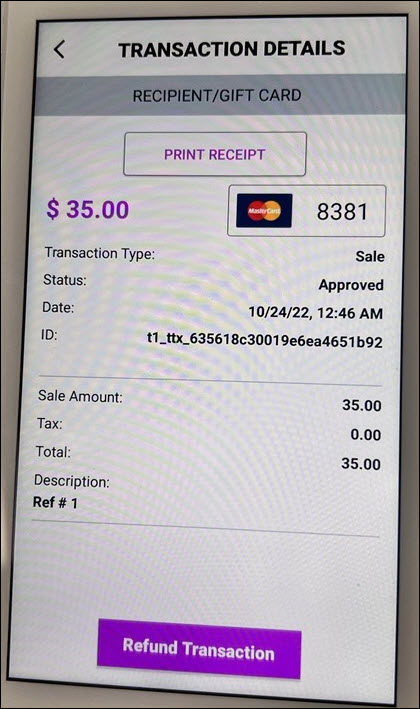
Then, your customer pays on the EFTPOS device and the payment is approved.

In byondcloud refresh the invoice. Under Payment Transactions, the payment status has been updated to APPROVED.

The payment has been recorded, and the invoice now shows a status of Invoice – Paid. It also updated the Total Paid and Amount Owing fields.

You can view the transaction receipt entry with the Receipts button. This will be covered in the View Receipts topic.

NOTE: If an existing payment is being processed but the customer would like to change the Payment Method, you’ll need to Expire open payments exist checkbox.

For example, a customer spoke to staff about paying for the services with an Online Payment. The customer was sent a link to an online checkout page. In byondcloud this transaction was recorded as Processing while we wait for the customer to action the payment.
However, the customer visited reception and wanted to pay with cash instead. The receptionist can then add a new Cash/Cheque/Other payment, with the Expire pending payments box ticked to cancel the Online Payment.
